
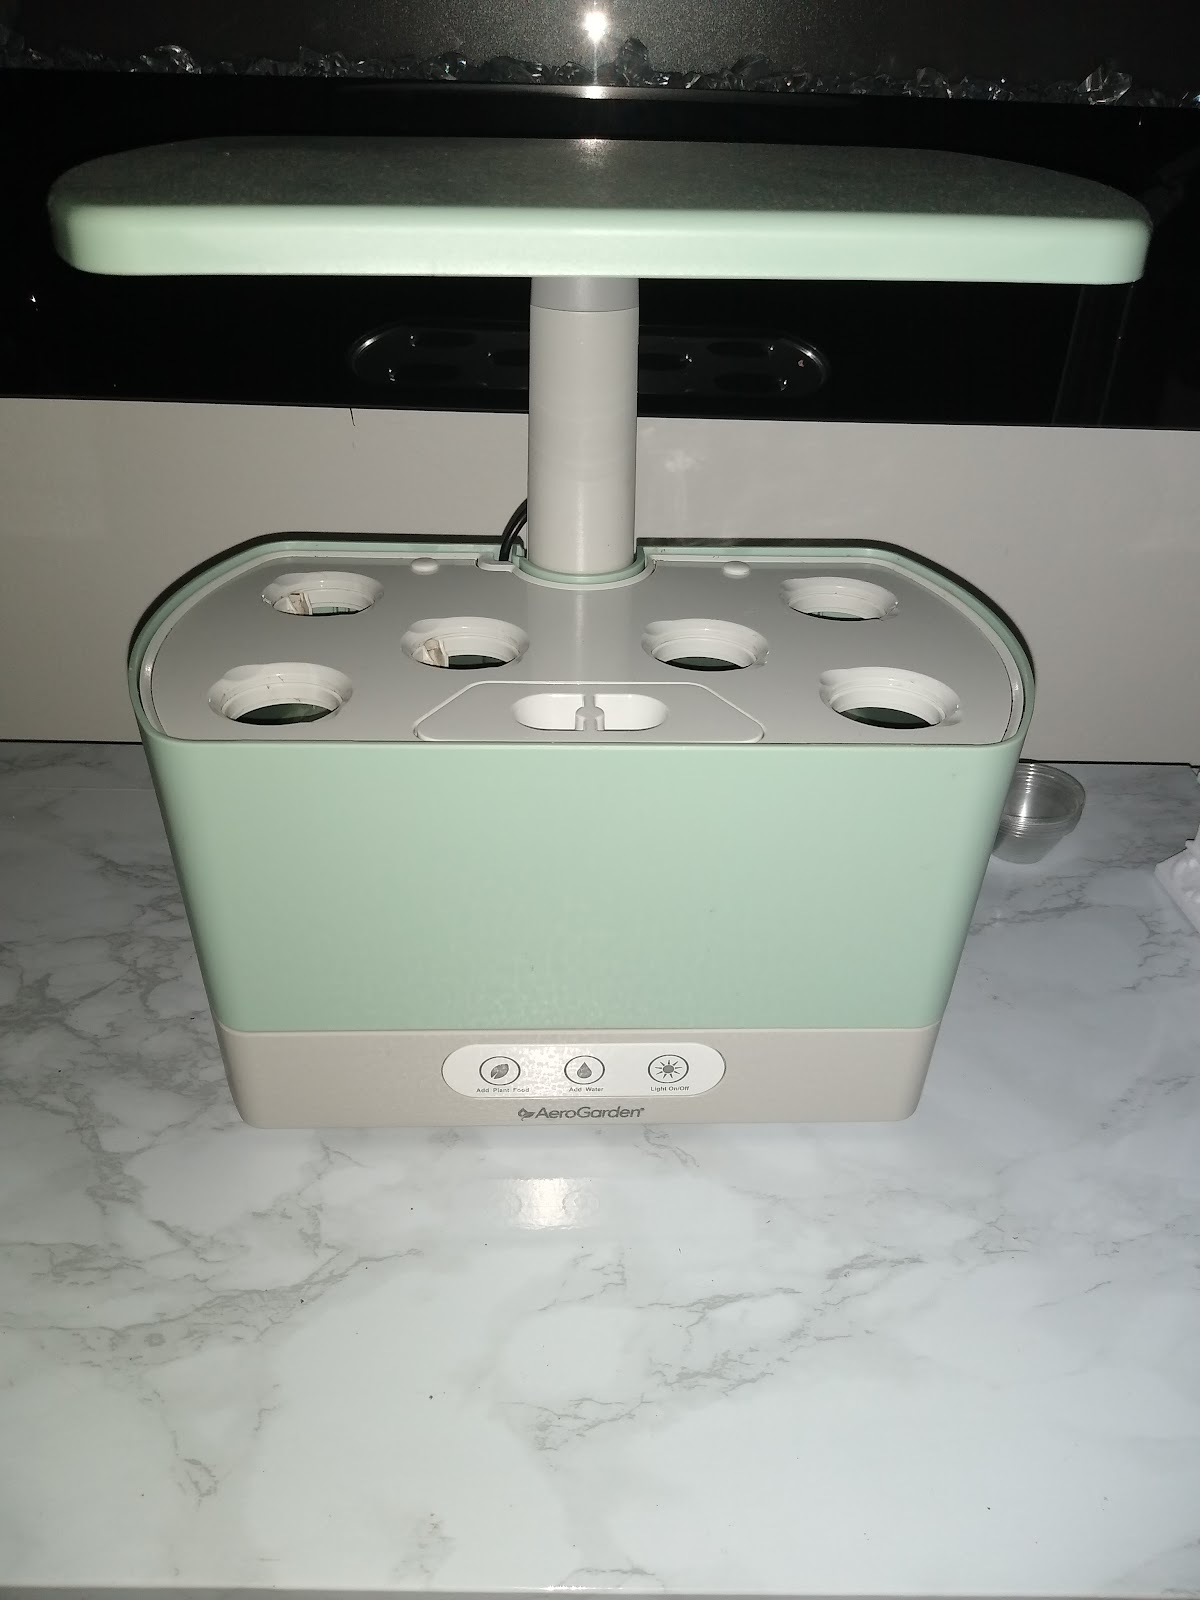
It’s the end of January & I have already planted tomatoes, even though it’s the dead of winter over here in Zone 5b. How? My AeroGarden Harvest that’s how. I got this awesome grow light/hydroponic system last year, which I have written about extensively (check out my first impressions, one month review & cleaning out articles). I have been itching to try to grow tomatoes in this thing since I got it. Partly, because I’m not sure if I could actually accomplish this task. But, I love a good gardening challenge & I love growing tomatoes, so I couldn’t pass up the chance to try. Let’s do this!
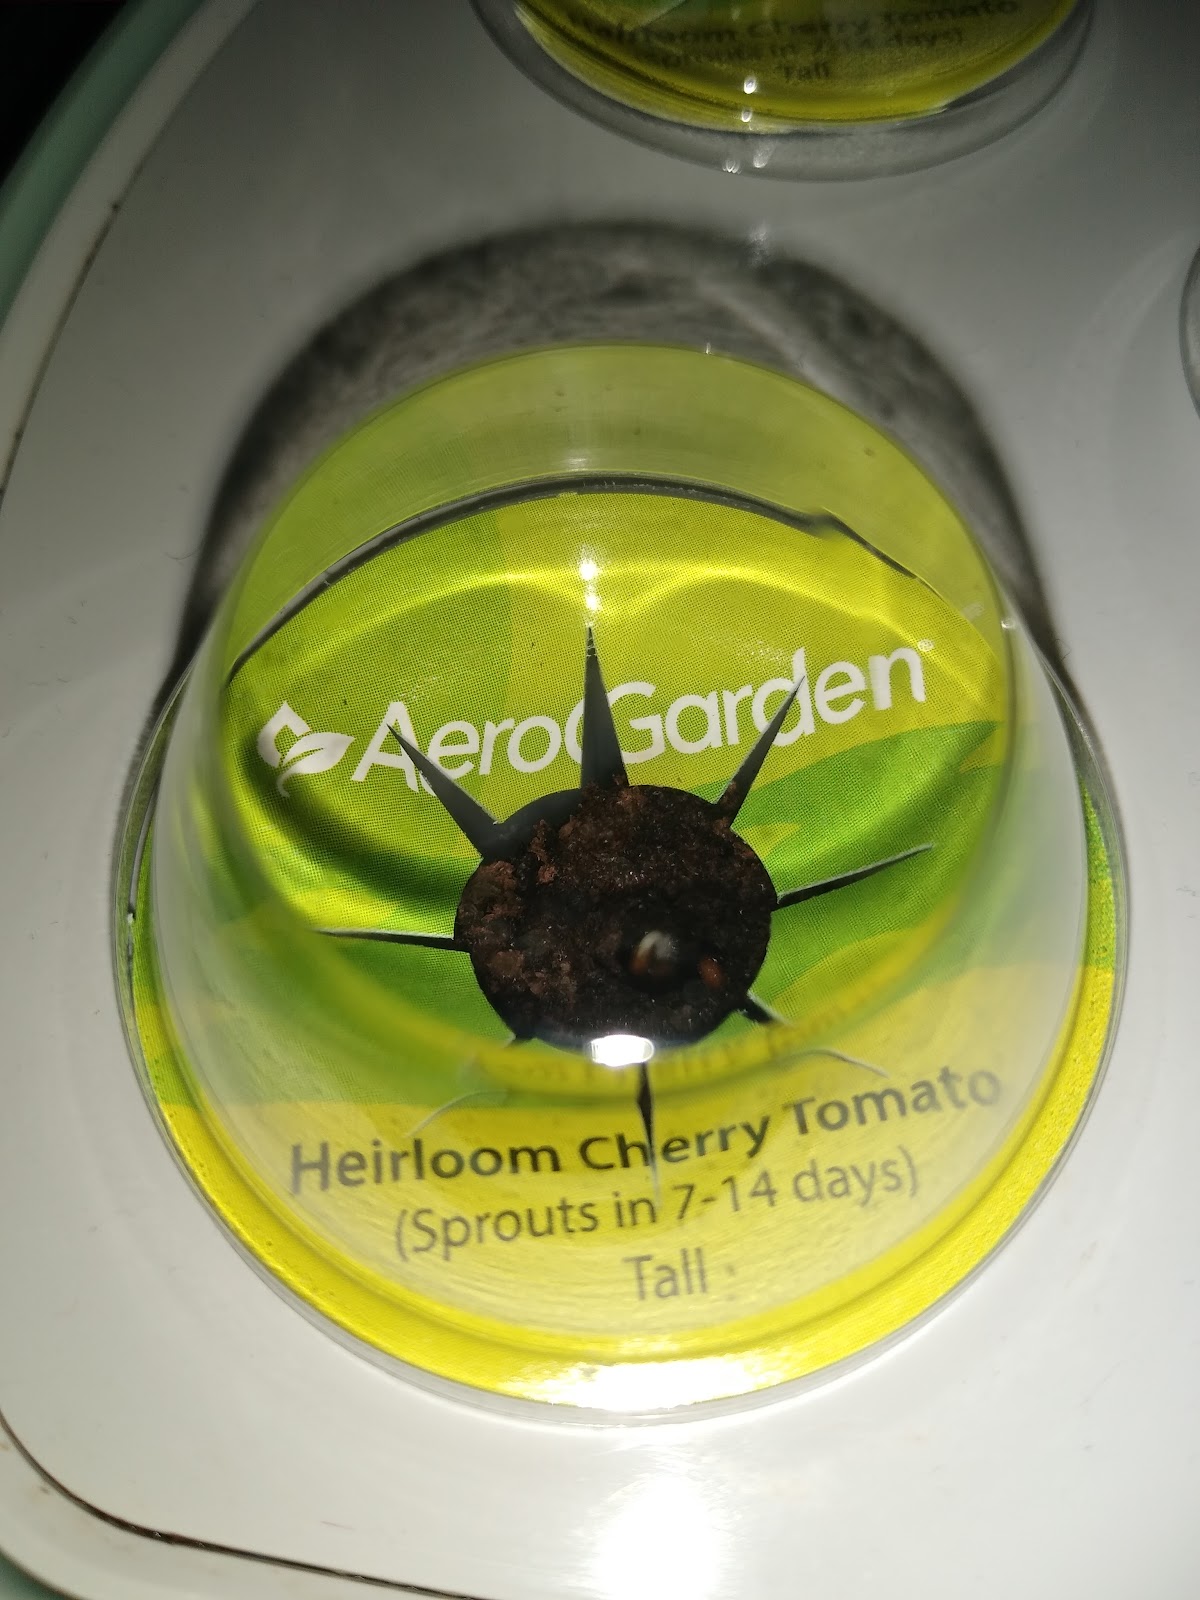
First things first, I had to get tomato seeds. I was able to save a bunch of tomato seeds from the tomatoes that I grew last year, but all of those tomato varieties get well over seven feet tall at full maturity. The AeroGarden Harvest is a tiny little desktop guy, so regular-sized tomato vines just wouldn’t thrive in such a small space. There are various dwarf/container tomato varieties out there, but I wanted to give this indoor tomato growing thing the best opportunity possible. Because of that, my choices were whittled down to the two varieties of cherry tomatoes that come in an AeroGarden tomato kit on Amazon. I ended up choosing the classic red cherry tomato over the yellow, because frankly, it was cheaper.
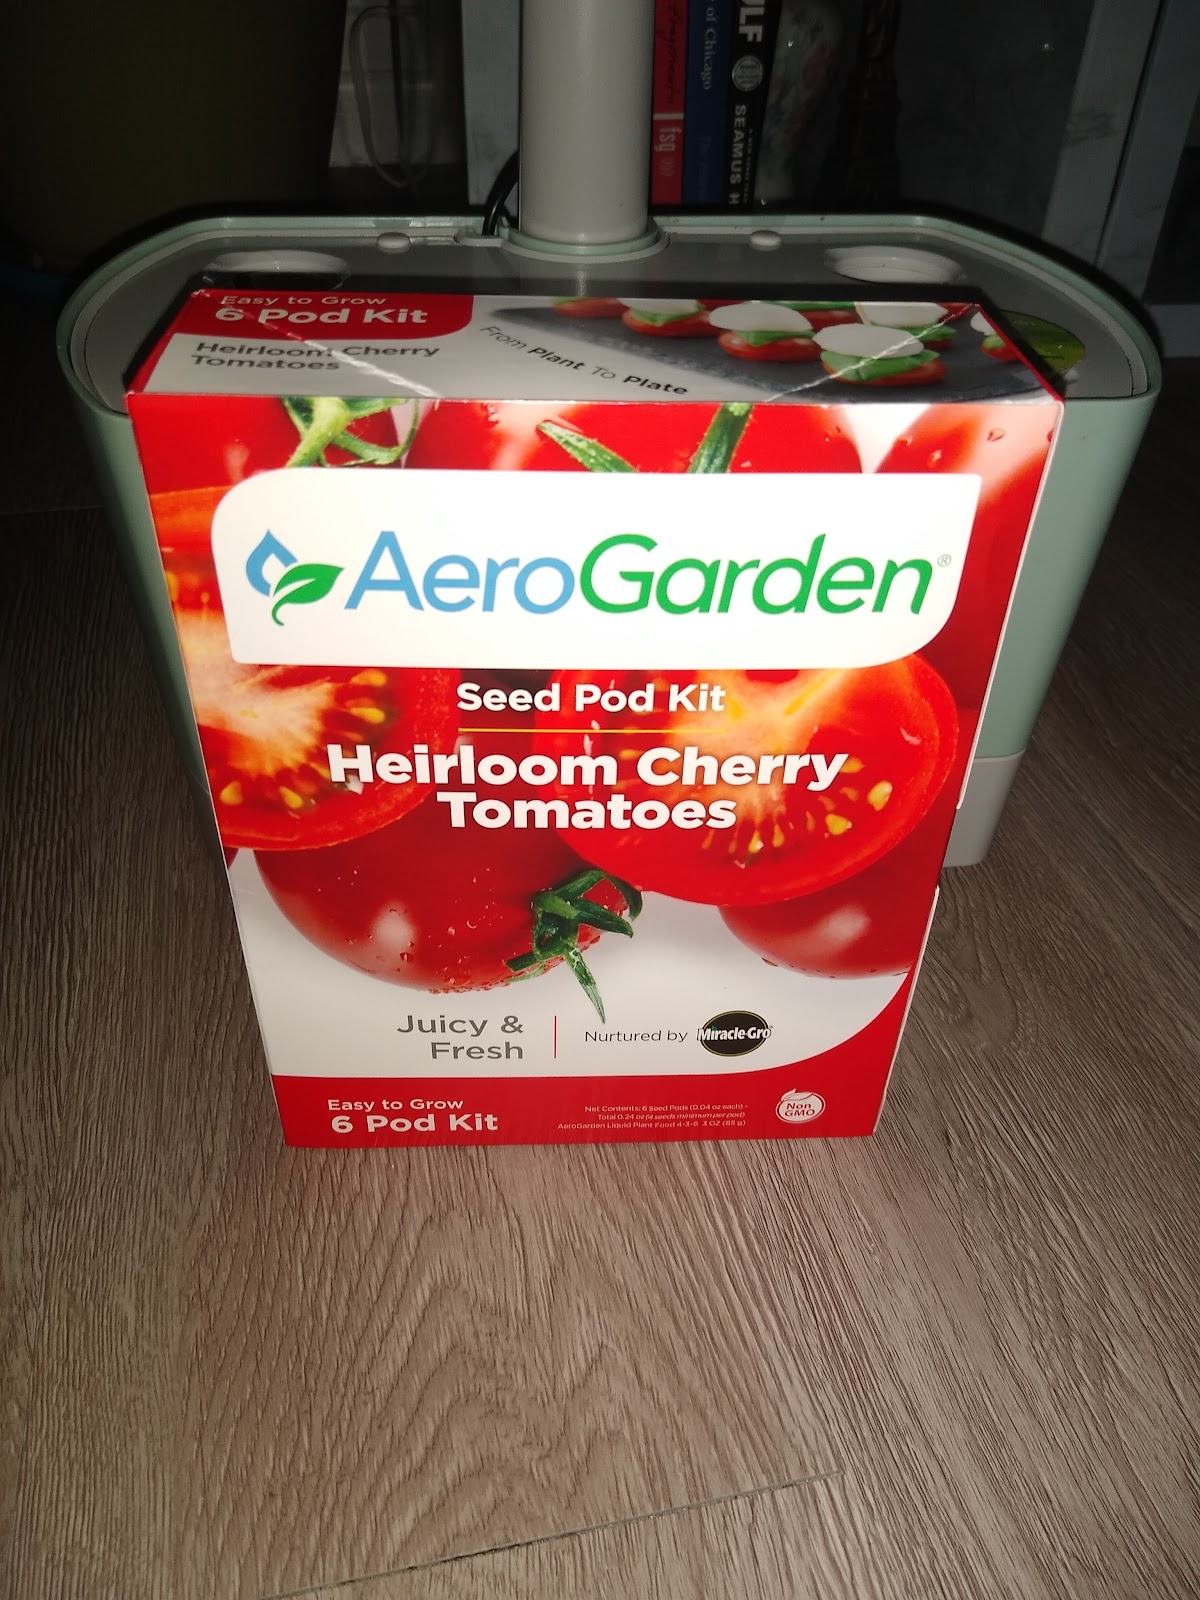
The kit came lickety-split, but it took me a bit to actually plant the seeds since it came while my Christmas decorations were still on display, right after New Years. I was just too busy to set-up the system all over again, so I kept pushing it off. I finally had the time to get the tomato party started in mid-January, about two weeks ago. I opened up the kit & took a look at what was included. I have a six-slot system & from what I read in the description of the tomato kit, I only had room to grow two tomato plants since they get so big. Therefore, I expected to get two pods with tomato seeds & four plugs to cover the other slots. To my surprise, all six of the pods that I received have tomato seeds in them! What does this mean? This means I’m going to hopefully have a tiny tomato jungle! Or more likely, I’m going to have to make some tough trimming choices in my future.
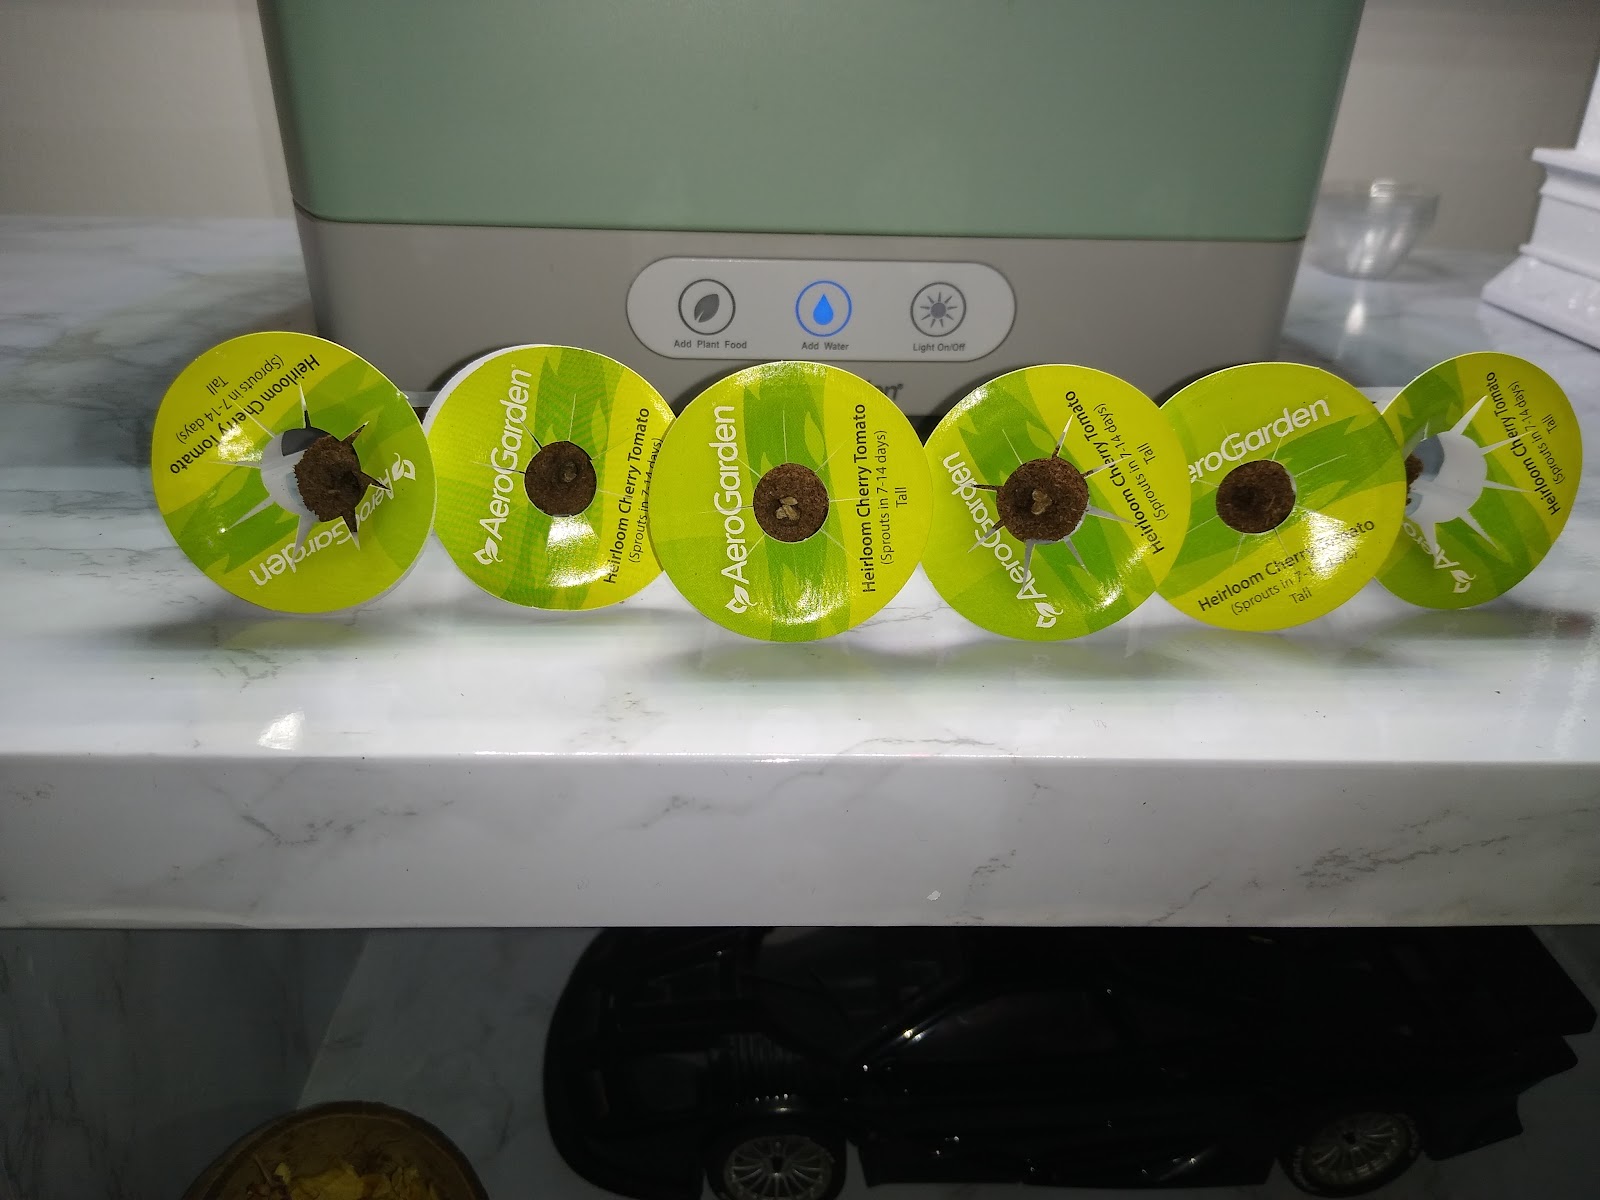
I decided to plant all of the pods just to see what happens. There’s always the possibility that some of the seeds won’t sprout or will putter out. I’d rather have too many, to begin with than be disappointed in the future. I just dropped the pods in the slots & covered them with the included pod domes. Then, I filled the reservoir with water up to the fill spot. After that, I pushed the power button & heard the sweet sweet sound of the water pump working. Finally, I measured out two capfuls of the included fertilizer & poured it into the water reservoir. That was it! Planting just doesn’t get any easier than that or cleaner!
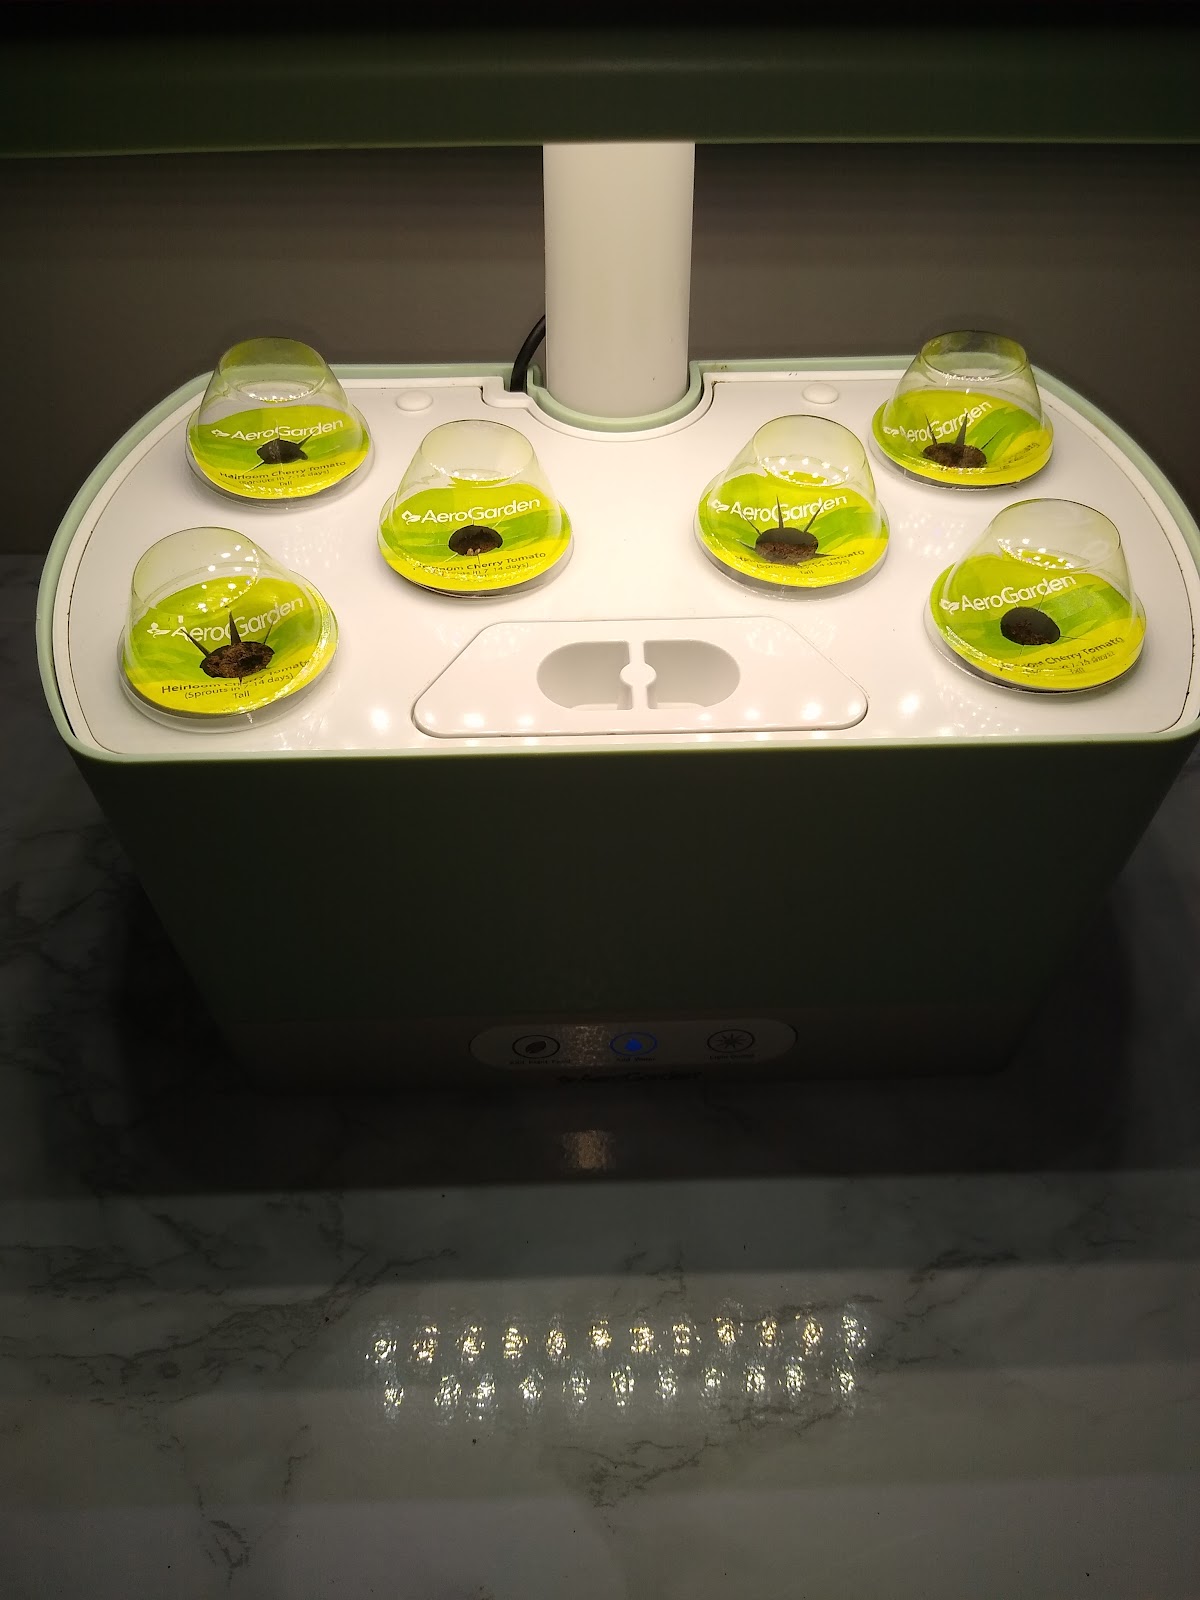
Once I programmed the lights to come on at a decent hour the following day, it was just a waiting game after that. A wishing & hoping & praying waiting game. Just like when I grew herbs in the system last year, I would check all the pods every day to see any sign of life. The pods state that the tomato plants would start to sprout 7-14 days after planting, but that didn’t stop antsy me from checking multiple times a day throughout that first week. Like magic, the first sprout sprouted just on time, exactly seven days later. I was so excited to see a tomato sprout in January, even if it felt like I needed a magnifying glass to see it! Soon after came more sprouts & by day 9 half of the pods had already sprouted. Now, 13 days later, all of the pods have sprouted except one.
It looks like I’m going to have to make those tough tomato thinning choices sooner rather than later, at least within the pods themselves. Tomatoes need room to grow & the small system means that the plants will be competing for space as is. At the very least, I’m going to have to limit the pods to one sprout each, so I will have to choose the strongest seedling per pod & thin out the rest. I hate clipping out healthy plants, but you have to thin out the herd in order to strengthen the strong.

So far, I’m really happy with my hydroponic tomato plants. I’m still cautious though, especially since my 2020 growing from seed tomato wars series didn’t work out the way that I expected it would. I have to temper my excitement & remind myself that at the very least, it’s a fun gardening experiment. It’s supposed to take over 70 days from planting before you can harvest tomatoes, so this will be a long journey indeed. Of course, I’m taking all of you on this ride with me so you can see what I see & maybe make a better-informed decision if you are looking to grow tomatoes hydroponically yourself. Stay tuned & happy gardening, everyone!

2 responses to “Adventures in Hydroponics: Planting Tomato Seeds in an AeroGarden”
Hi there, thanks for sharing the blog! Gardening is my best hobby, I love to grow plants and veggies. I got many useful ideas from your blog and I love your kit. I will try to find it at my place. Keep sharing this kind of helpful post with us.
LikeLiked by 1 person
Thanks so much! I’m glad my blog has been helpful to you! I found the tomato kit on Amazon, I hope you’ll be able to find it too. It’s been so much fun watching the plants grow!
LikeLike