
That wonderfully delicious time of year is here again, garlic harvesting! Garlic is one of my absolute favorite plants to grow, however, it’s one of my least favorite plants to harvest. Growing garlic is as easy as can be (check out my garlic planting tutorial & my garlic growing tips), but harvesting it is a trickier endeavor. Fear not though, for I am a seasoned garlic harvester who has a few tricks up her sleeve that helps ease the task at hand. Keep on reading for my garlic harvesting tutorial.
Materials
- Hand shovel
Method
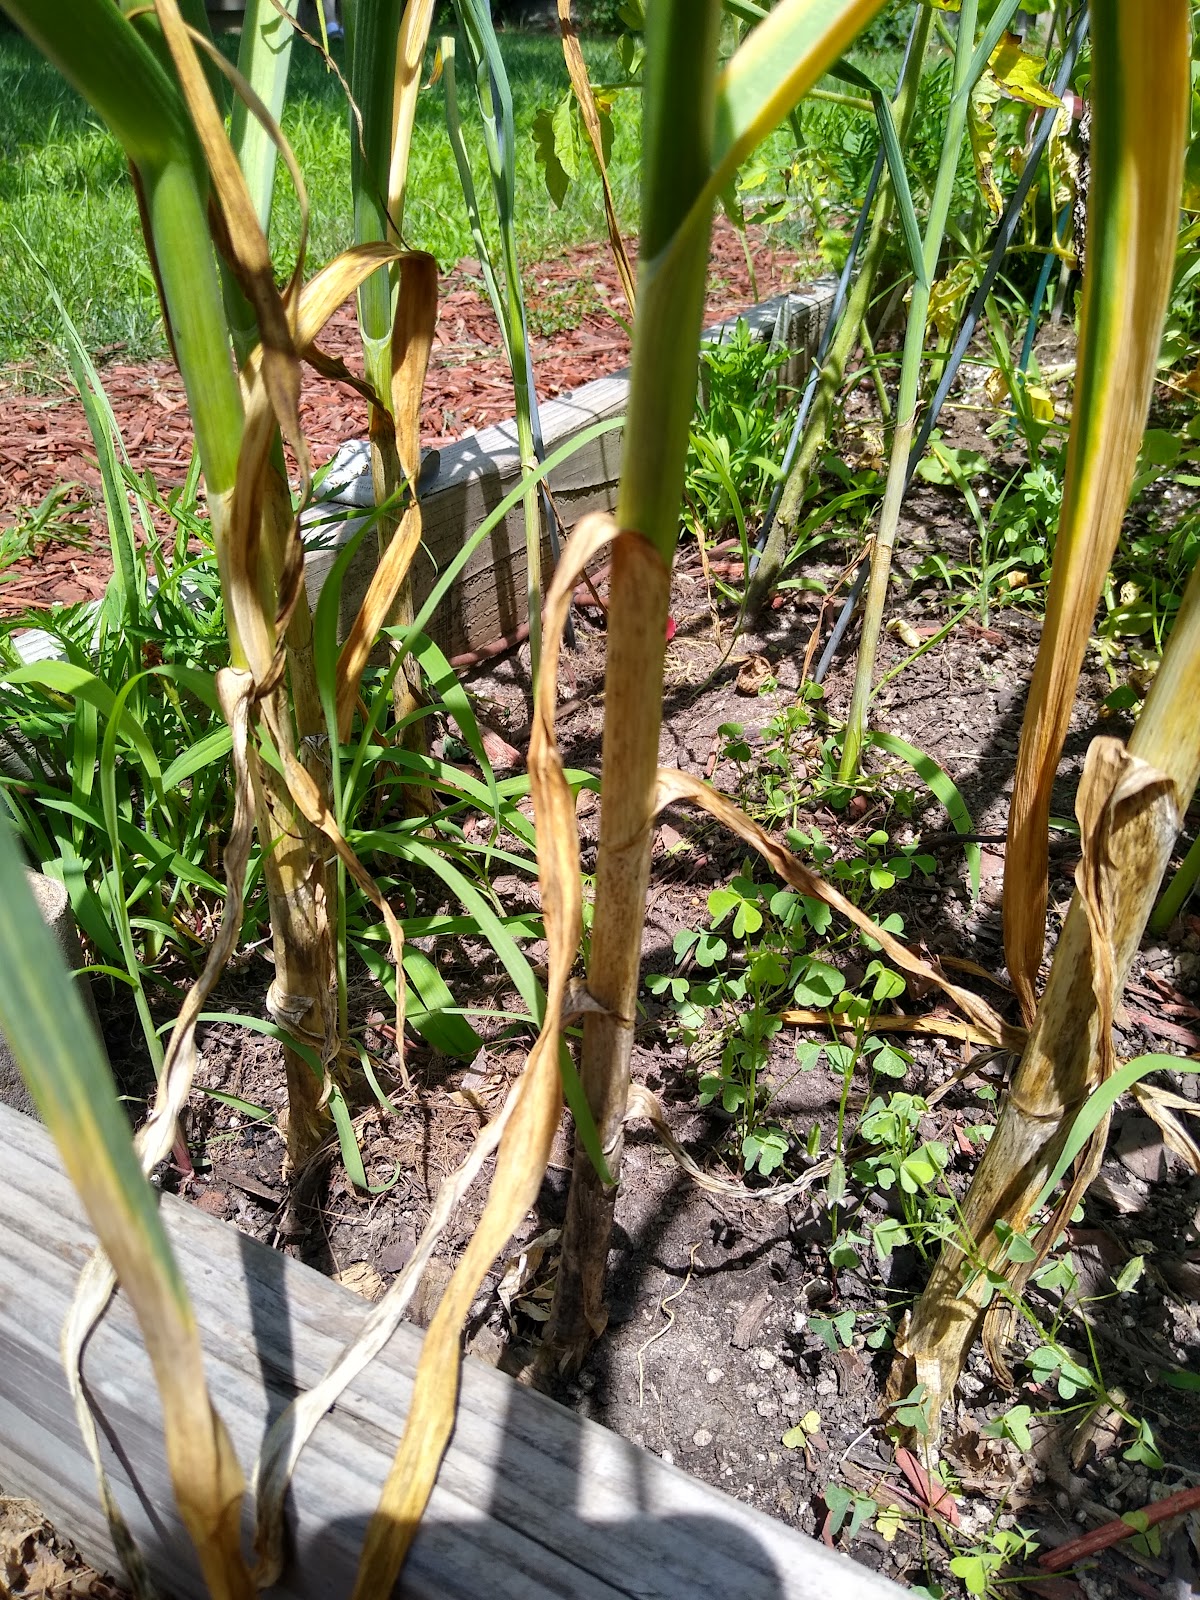
- Make sure that your garlic is ready to be harvested. The bulbs are ready when 3-4 of the bottom leaves have turned yellow.
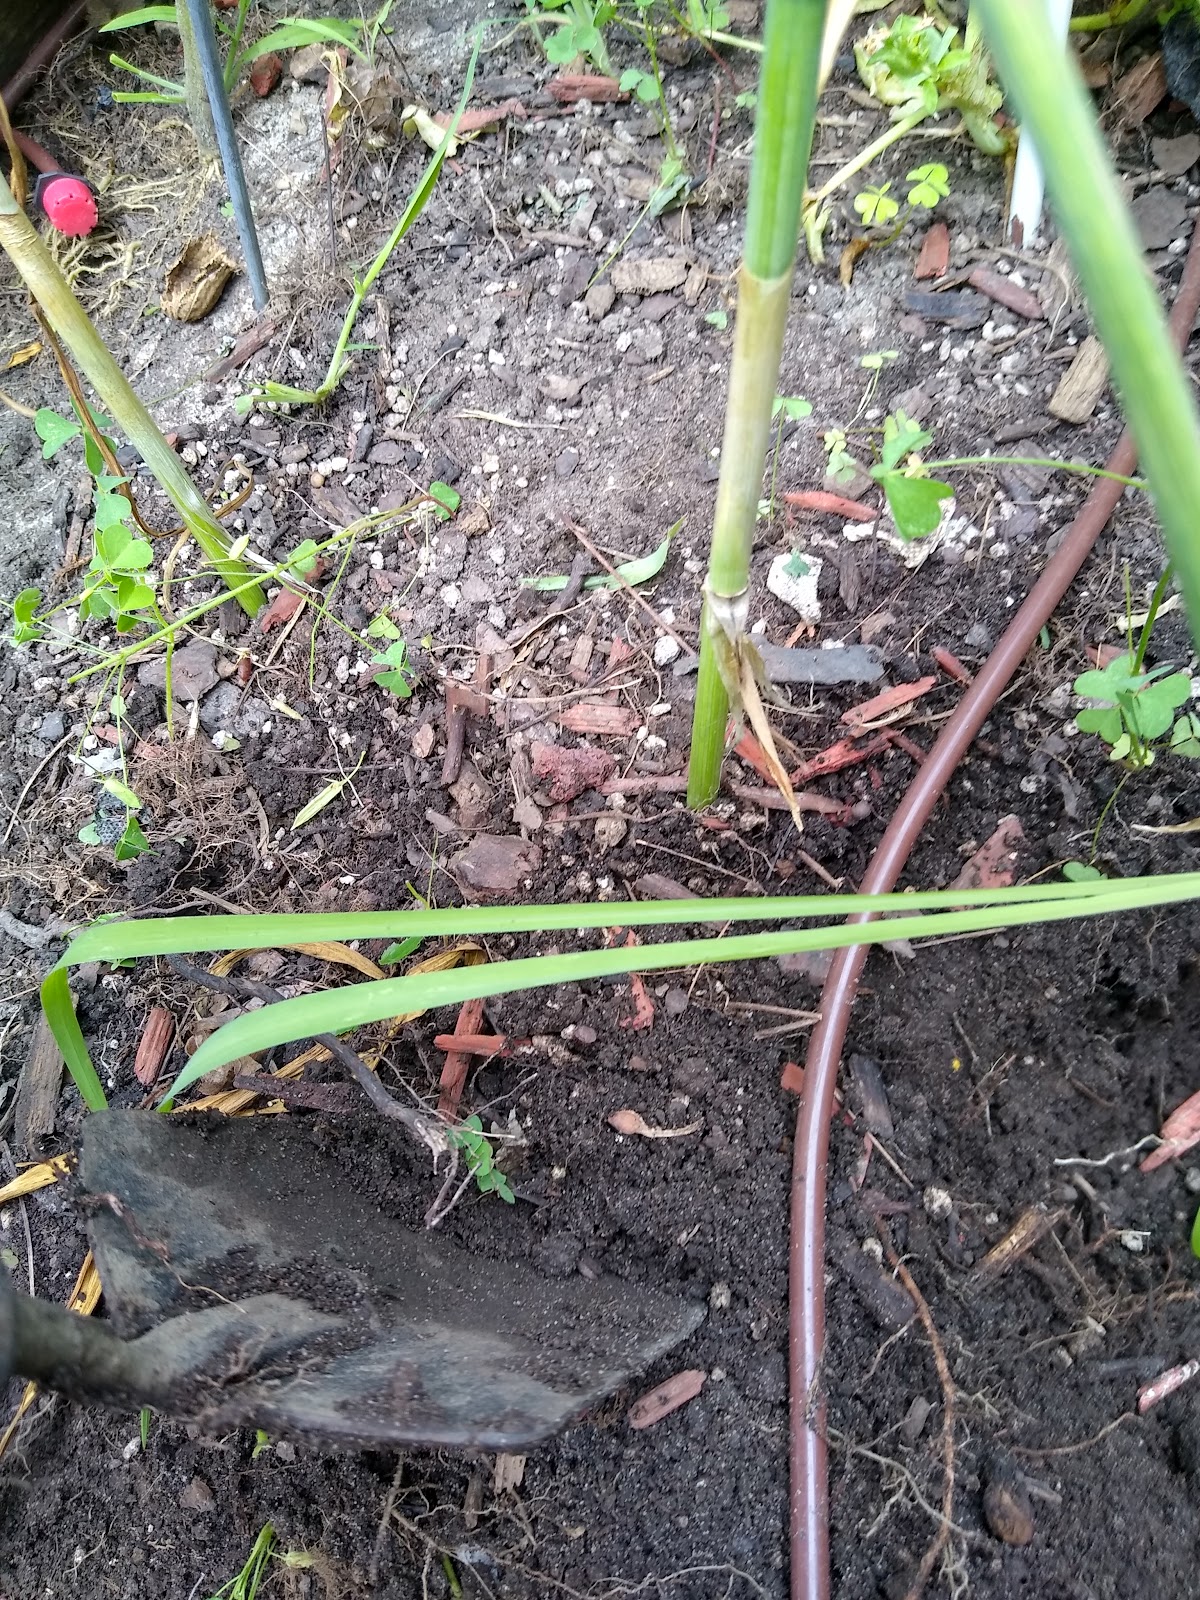
- Start digging around the plants. Do not pull on the leaves or puncture the bulbs.
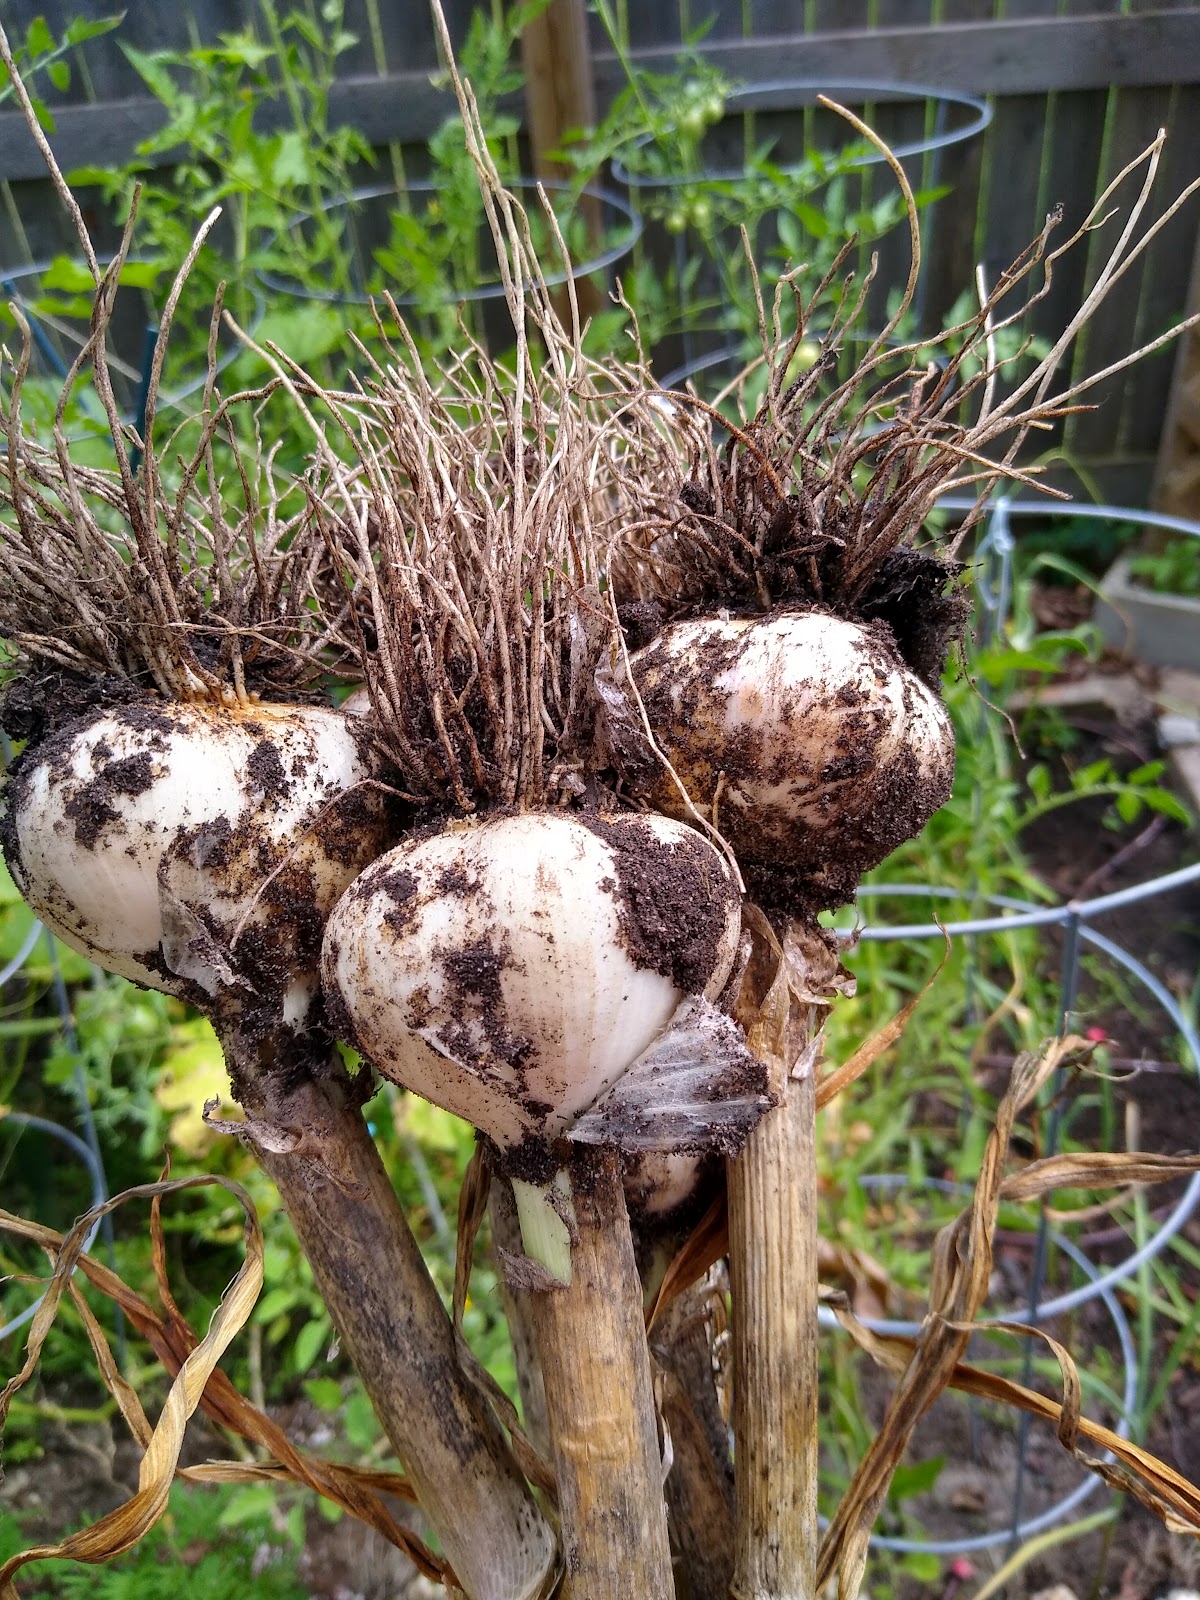
- Keep on digging while lifting up the soil around the plant until the garlic bulbs pop up from the dirt’s surface.
- Carefully shake excess dirt off the roots.
- Keep the leaves on the bulbs & set aside in a sunny spot. Repeat steps 1-4 until all of your garlic has been harvested.

Tips
- Stop watering your garlic plants a few days before harvesting because dry soil is easier to dig around.
- Dig out one garlic plant as a test to see if the rest are ready to be harvested.
- The first bulb is always the hardest to dig out. Keep on keeping on, you’ll get them!
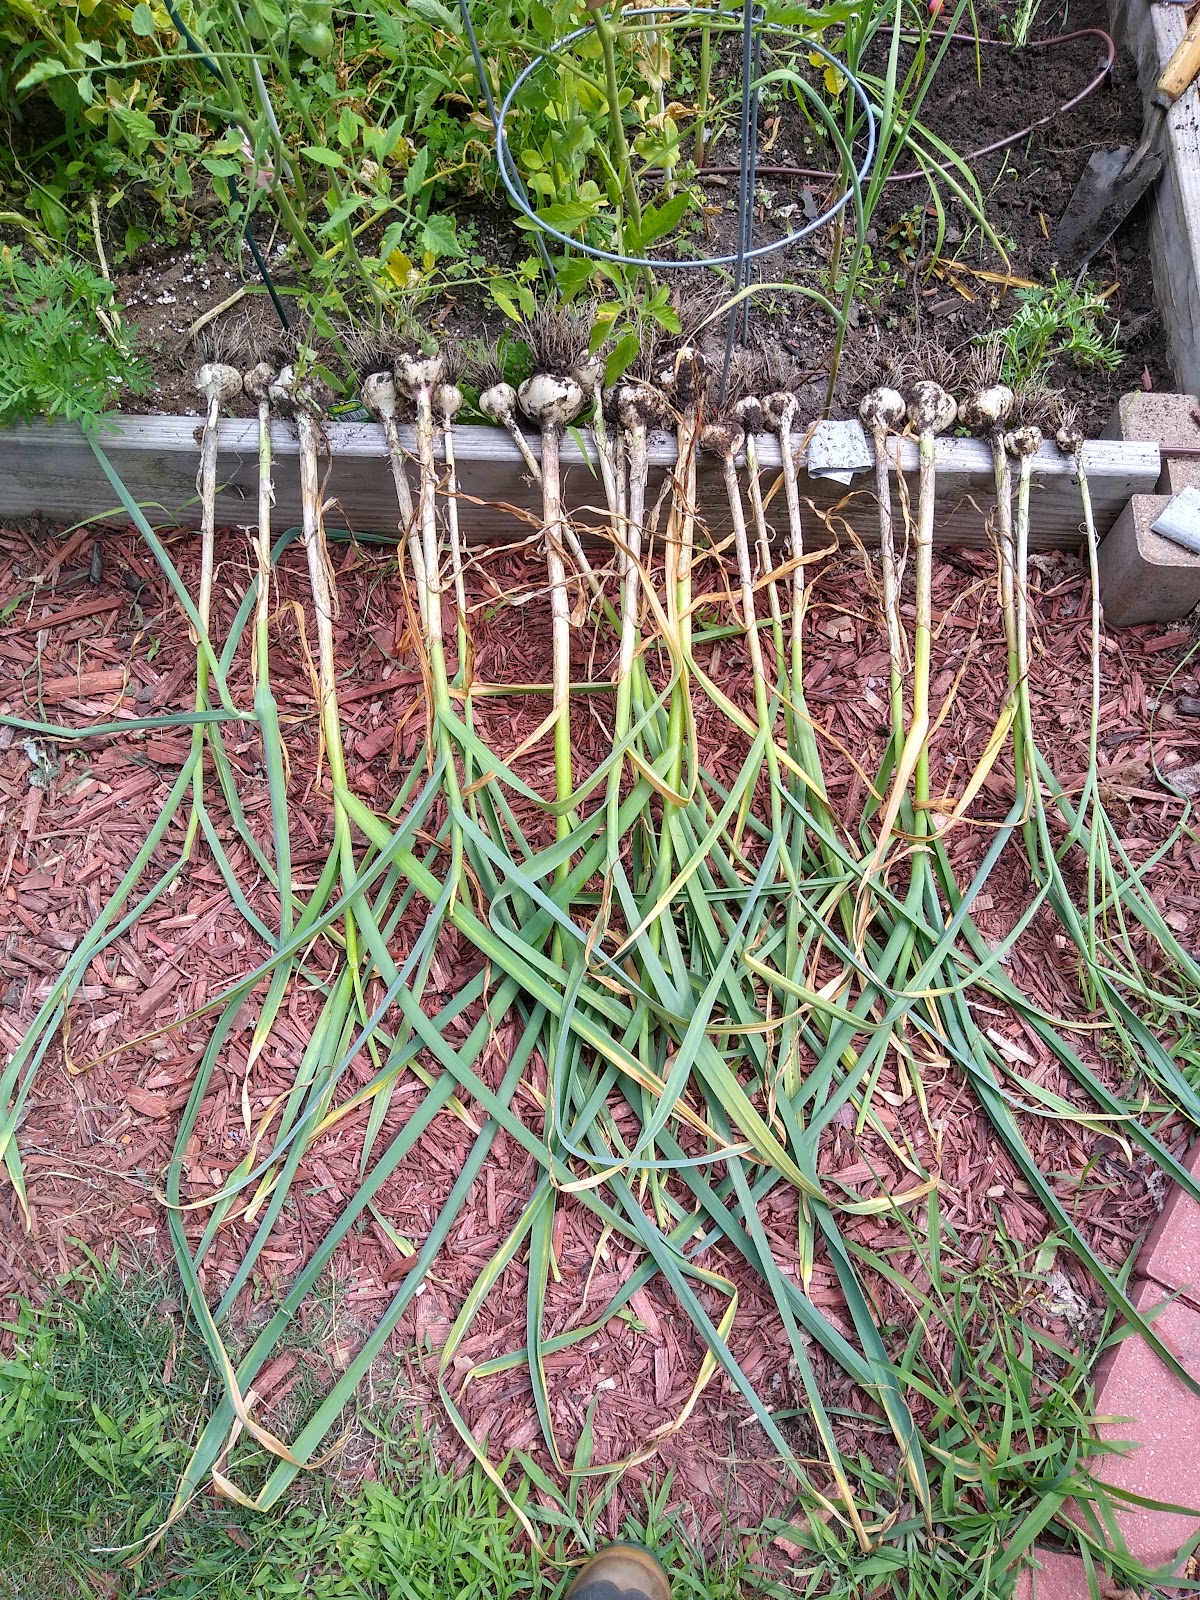
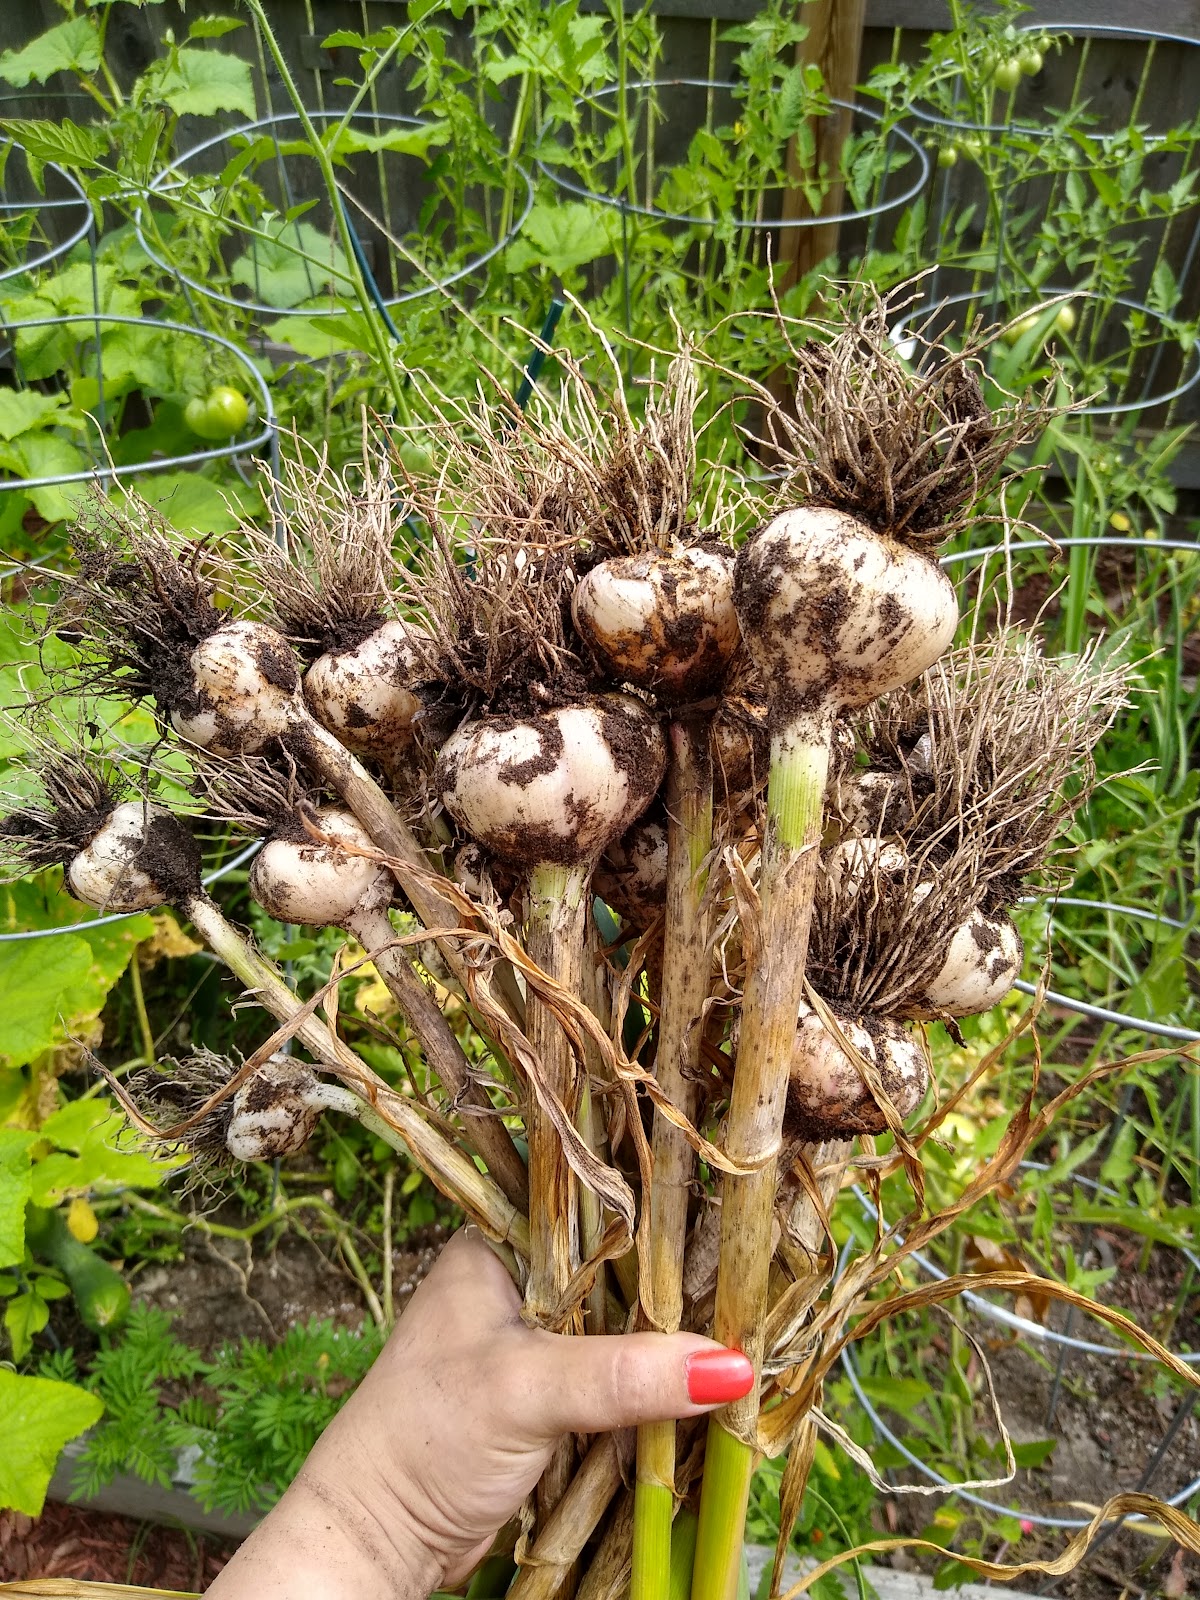
I harvested my garlic a bit later than normal this year, probably due to our cold late spring & hot summer. I had kept a diligent daily watch over them the past month, all the while counting their yellowed leaves & wondering just how big those garlic bulbs were getting underneath the surface for the soil. Finally, the 4th leaves on most of the bulbs started to yellow & the weather was just right for harvesting. To say I was excited to finally eat my homegrown garlic is an understatement.
But I dreaded the actual harvesting process a bit. I’m always a bit anxious that I will accidentally puncture the bulbs with my shovel, even though that has never happened before. I also planted one row of garlic very close to one side of my raised bed victory garden. I knew that would make it a bit of a challenge to harvest, but I was low on space. Additionally, I ended up planting 4 different varieties of garlic (German Red, Duganski, Nootka Rose & Music) & one variety is a bit of a slowpoke compared to the other 3, so it was not ready to be harvested just yet. I only removed the scapes last week & the yellow leaf count is sitting at 1-2 per plant. They definitely need more growing time.
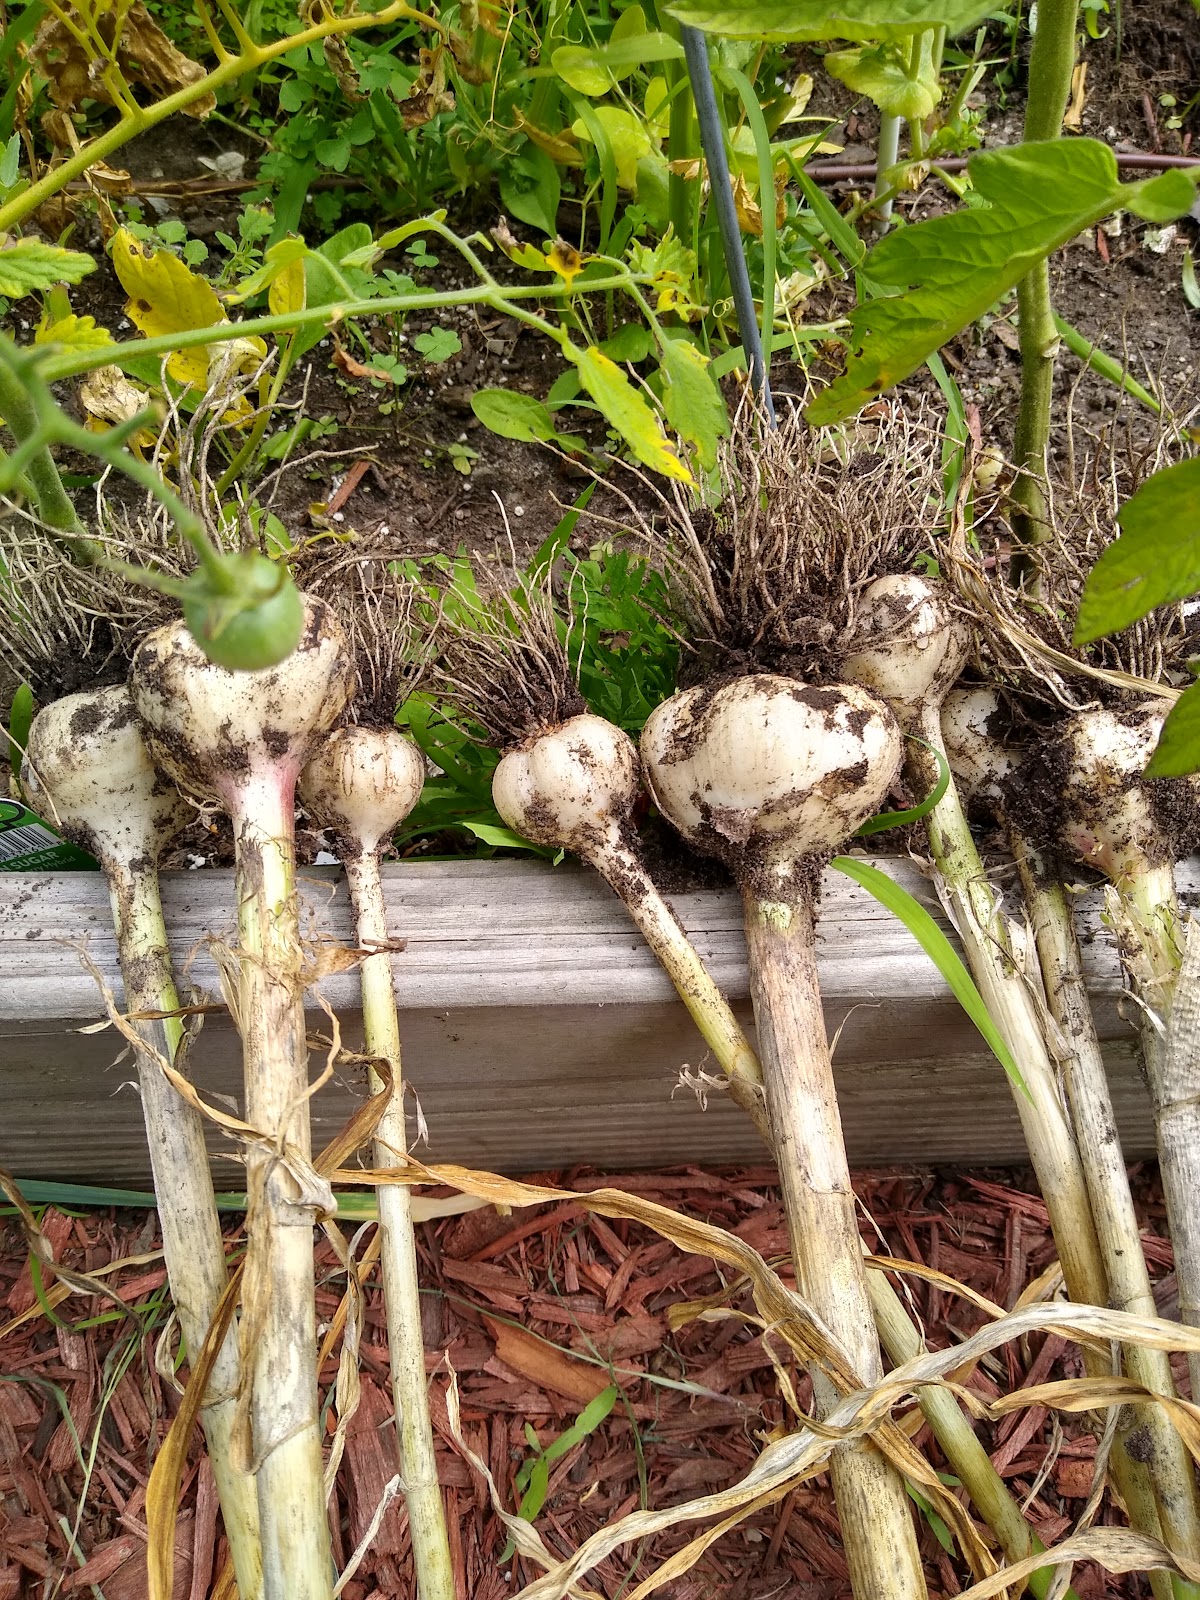
I got to harvesting & started to dig around a very crowded garlic plant, but it was a bit too crowded & I feared puncturing would happen, so I walked around my raised bed & started digging on the other side. I dug & dug & dug until I was finally able to pop up my first garlic bulb. What a great feeling that is! It’s always like solving a mystery seeing what has been growing underground. I continued my careful digging & ended up harvest 22 garlic bulbs that day. I mostly ended up with medium-sized bulbs, but I did end up with a few huge ones, much to my excitement. I also dug up a couple of the not-so-ready garlic bulbs to see how they were doing. They are teeny tiny & not ready whatsoever, so I left 9 garlic plants to continue doing that growing thing.
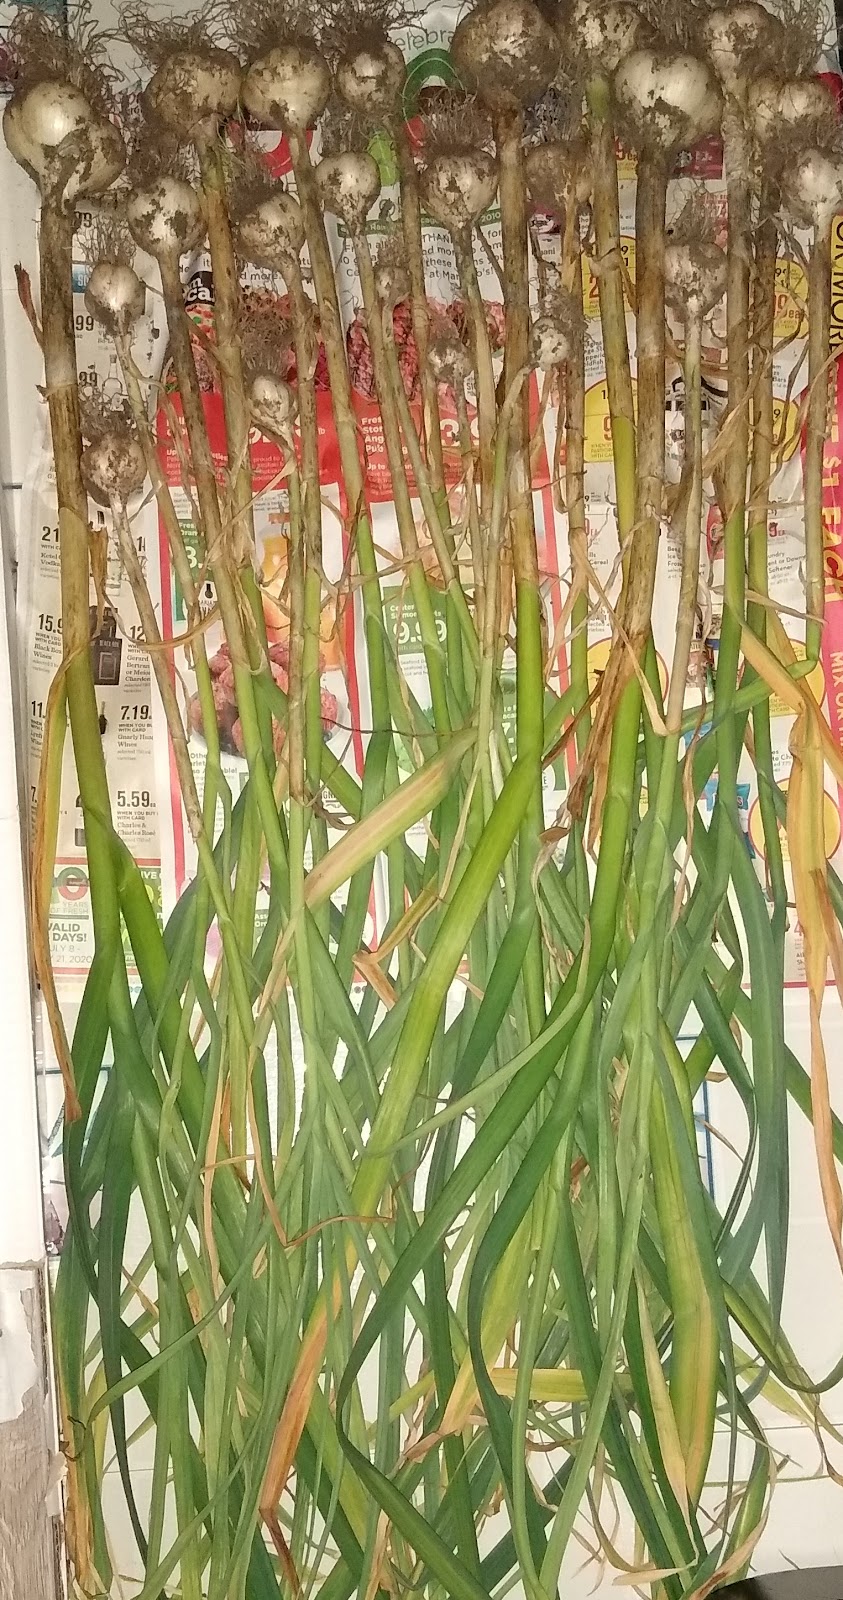
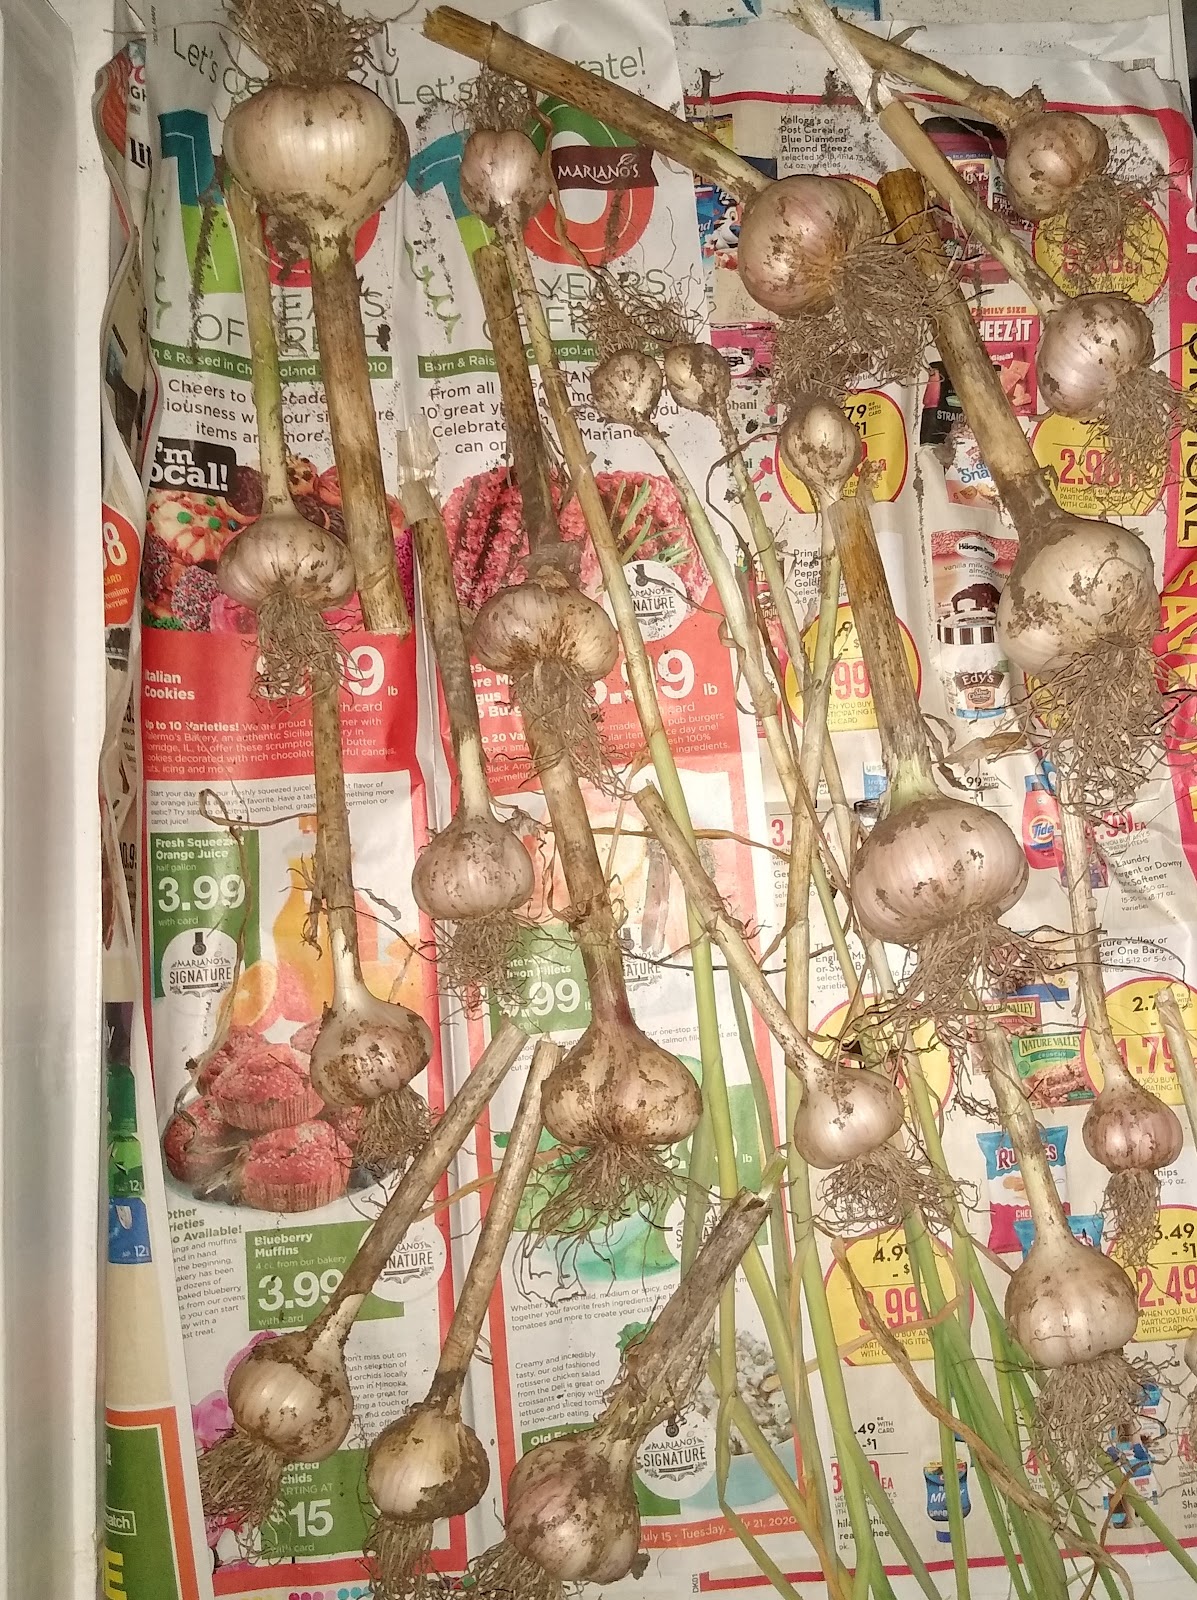
Curing was up next & I laid all of my bulbs in a single layer on a grocery flyer in a cool & dark place in my house. Some people dry out their garlic bulbs outside, but we have some mischievous squirrels out here that I just don’t trust them, therefore I always cure my garlic indoors. The bulbs were left to dry in this spot for two days, after which I trimmed off their leaves (leaving 3 inches of the stem) & used a soft toothbrush to brush off any loose dirt on the bulbs & roots. I put them back on their grocery flyer home & will leave them there for a month in order to cure.
It’s a bit of a process, but it’s totally worth it because nothing beats the taste of homemade garlic, so much so that I can’t imagine not growing my own garlic. What’s a garden without garlic? Nothing about the garlic harvesting process is difficult, you just need to take your time & be careful. Now go out there & harvest that garlic of yours! Happy gardening, everyone!
