
*This article contains affiliate links. As an Amazon Associate I earn from qualifying purchases. As always, all opinions are my own.*
Spring is almost here & seed starting season is in full swing. As I’ve stated in my other seed articles, I have never started vegetable or flower seeds indoors before. My house just doesn’t get enough sunlight to start seeds inside. However, my relatively new AeroGarden has given me the opportunity to do so since it is a grow light system. To say that I have been excited to finally try indoor seed starting is an understatement. It’s such a cheap way to garden, especially if you are planning on planting a lot of plants. Also, it gives you a head start on your spring gardening. No more worries about heading out to a gardening center in May, only to find their veggie/flower plant selection depleted. Plus, you get that sweet sweet satisfaction of growing your own plants from seed. So, how do you plant seeds indoors? Read on for my indoor seed starting tutorial.
Materials
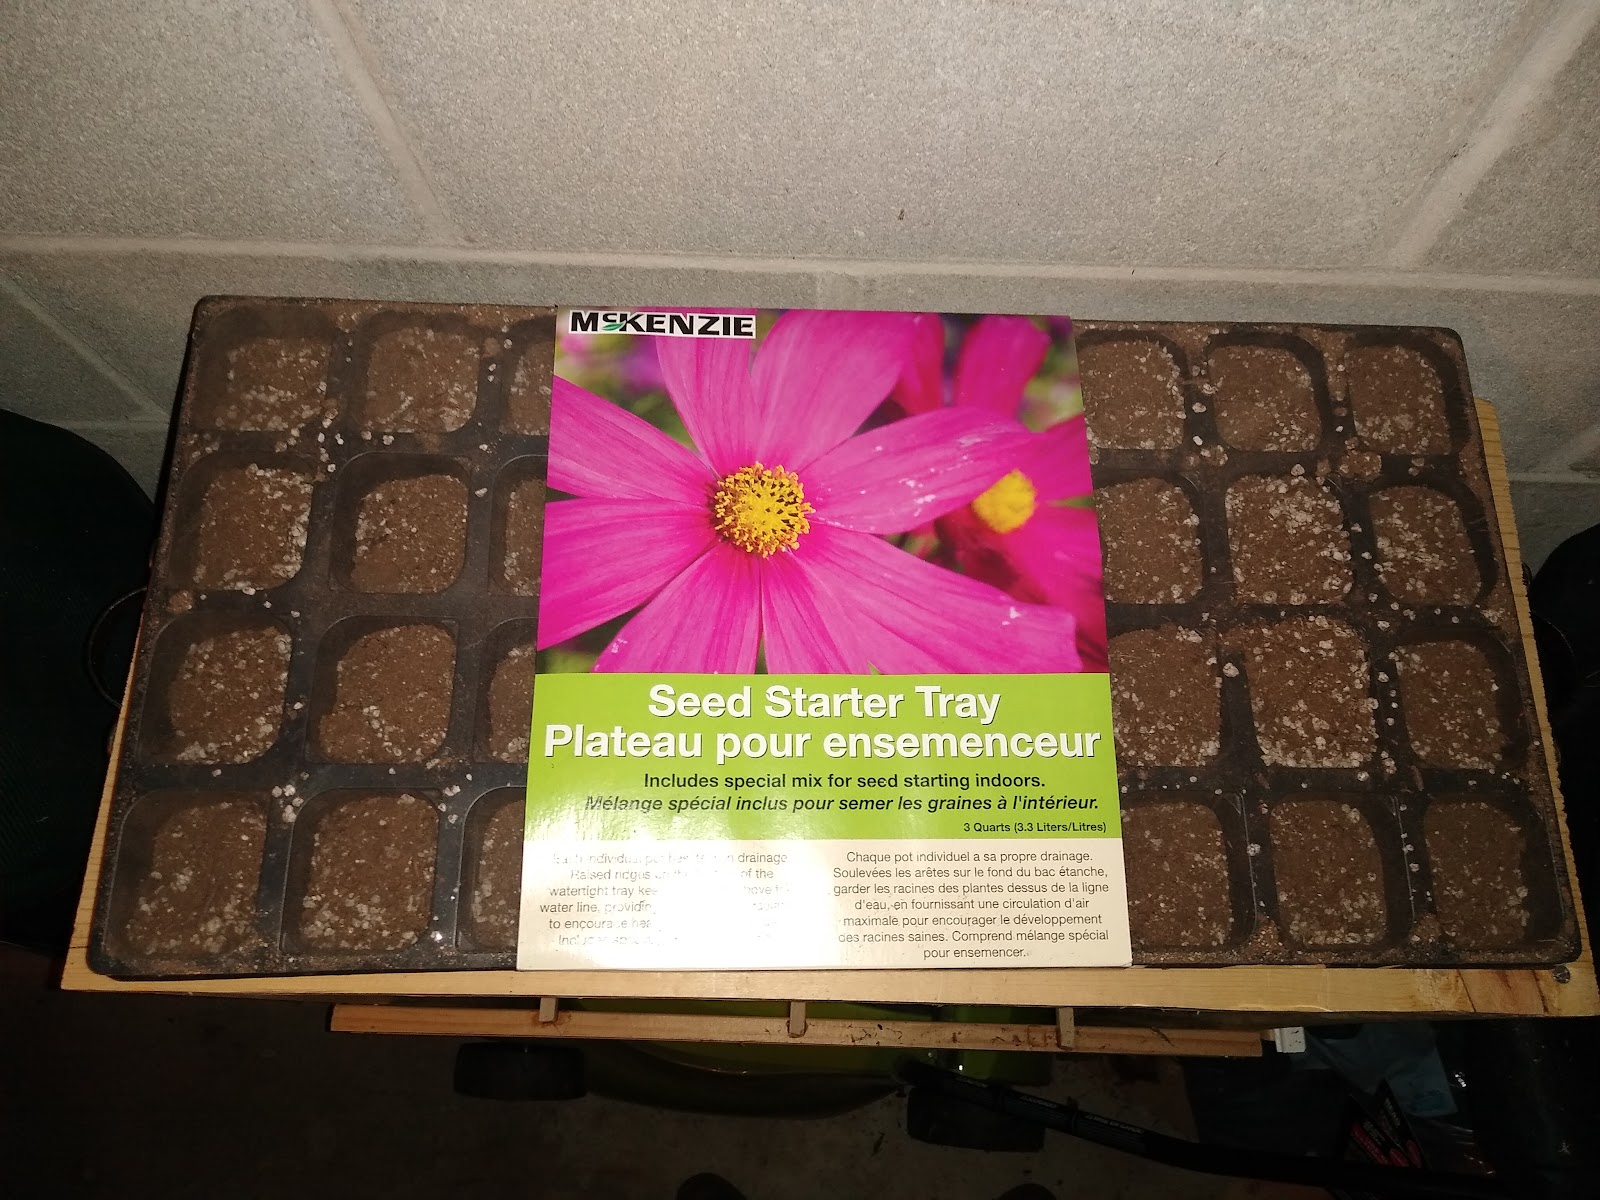
- Seed Starting Kit
- Seeds
- Water
- Spray bottle
- Plastic wrap
Method
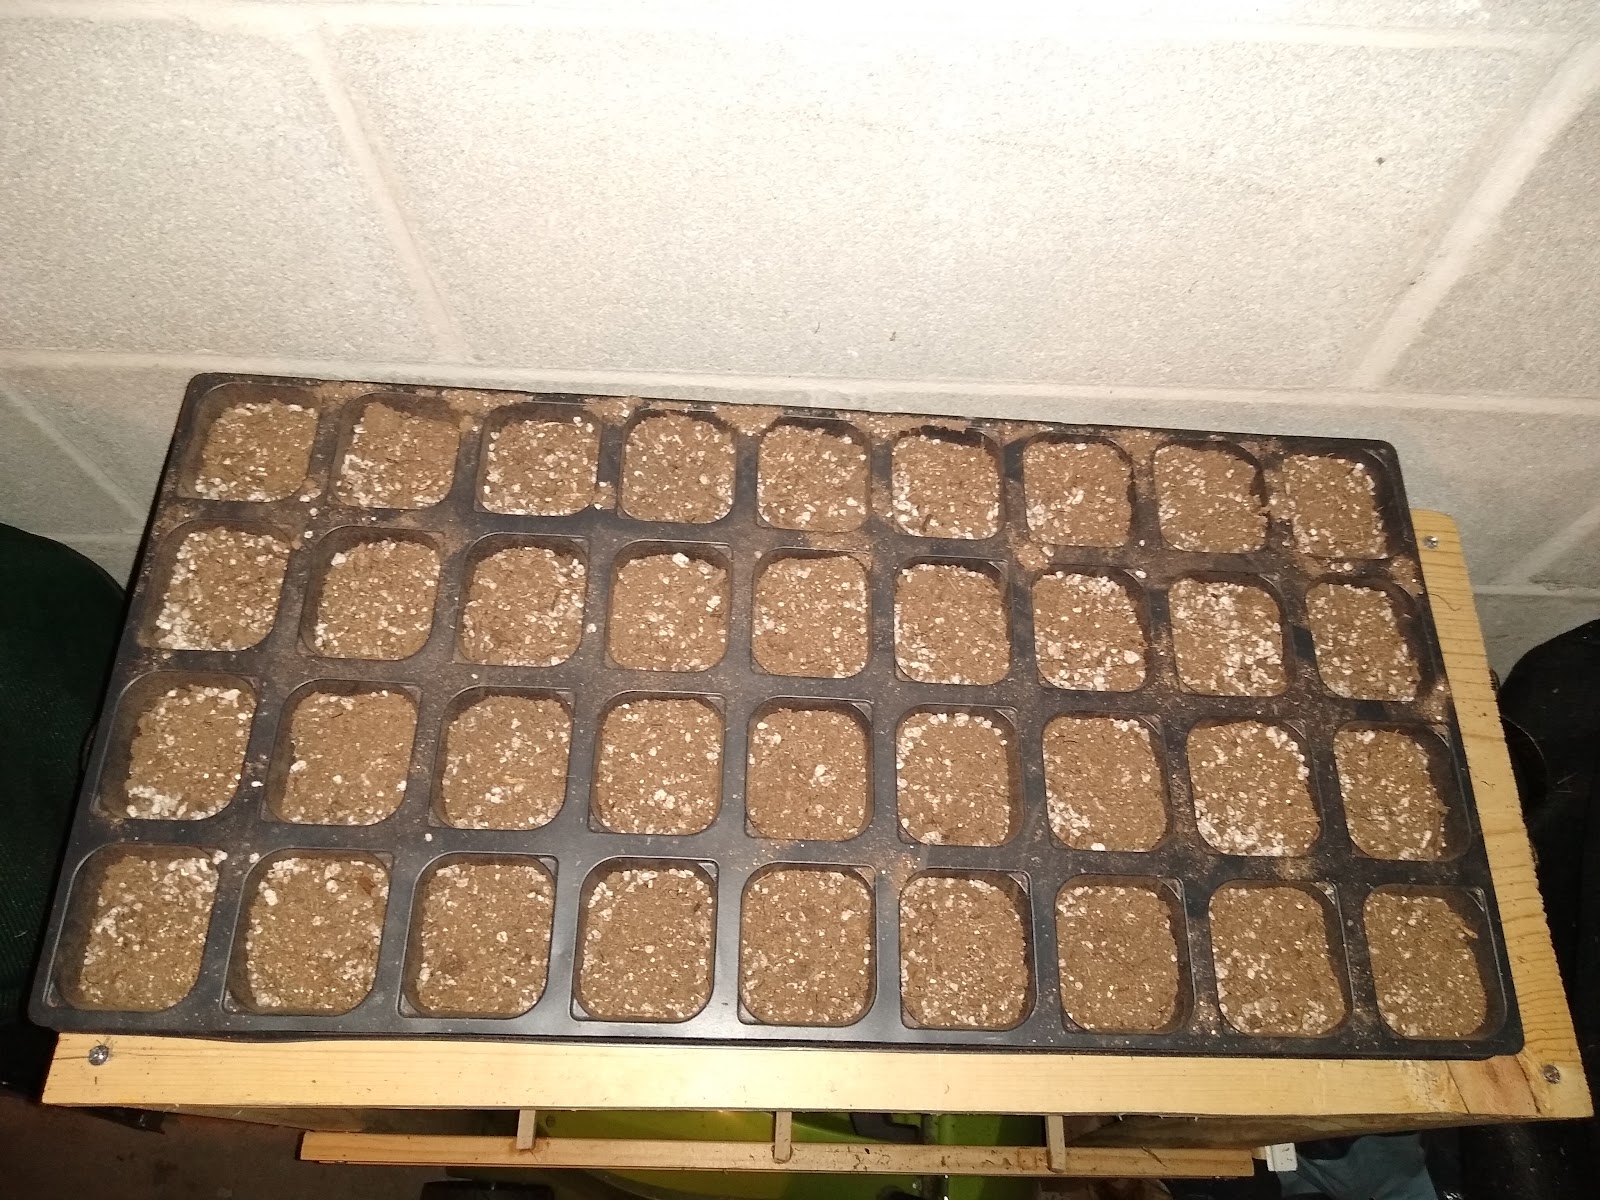
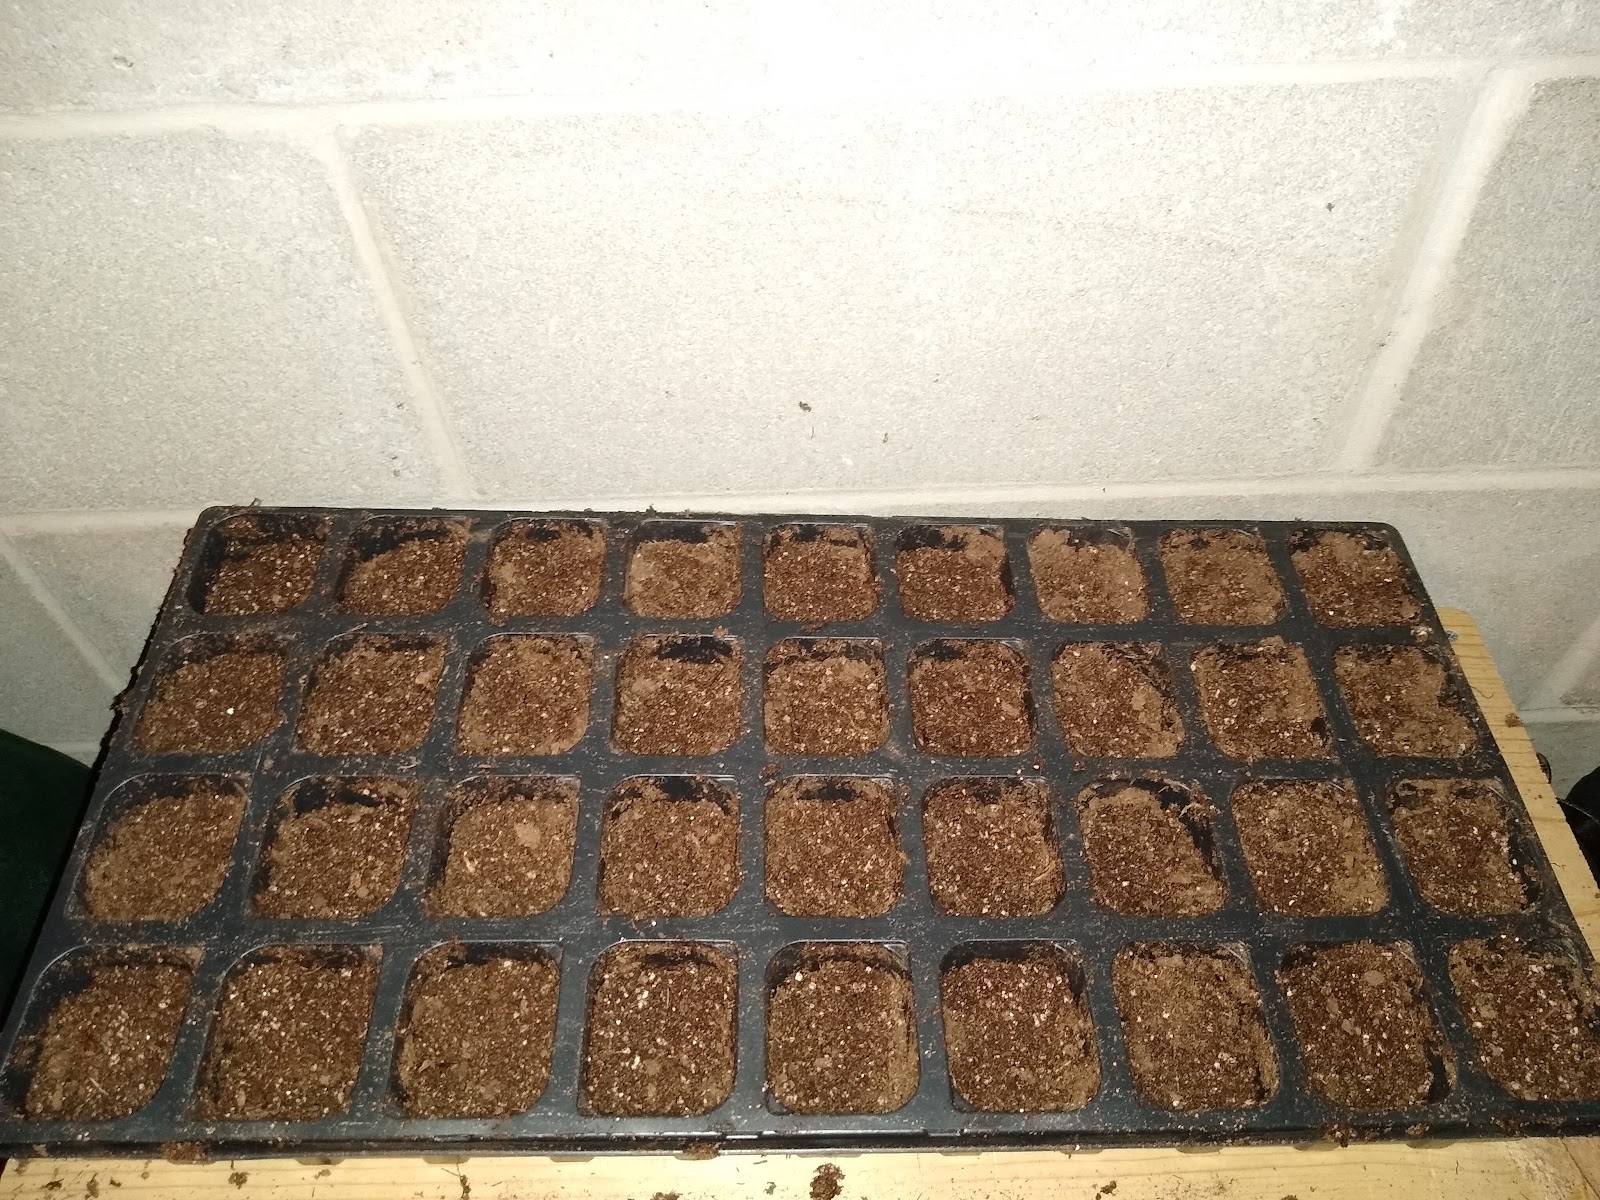
- Water each cell of your seed starting kit thoroughly. Mix the soil & water until the consistency looks like brownie batter. Add more water if necessary.
- Plant your seeds according to the directions on their seed packets.
- Spray with water, making sure that the soil is moist.
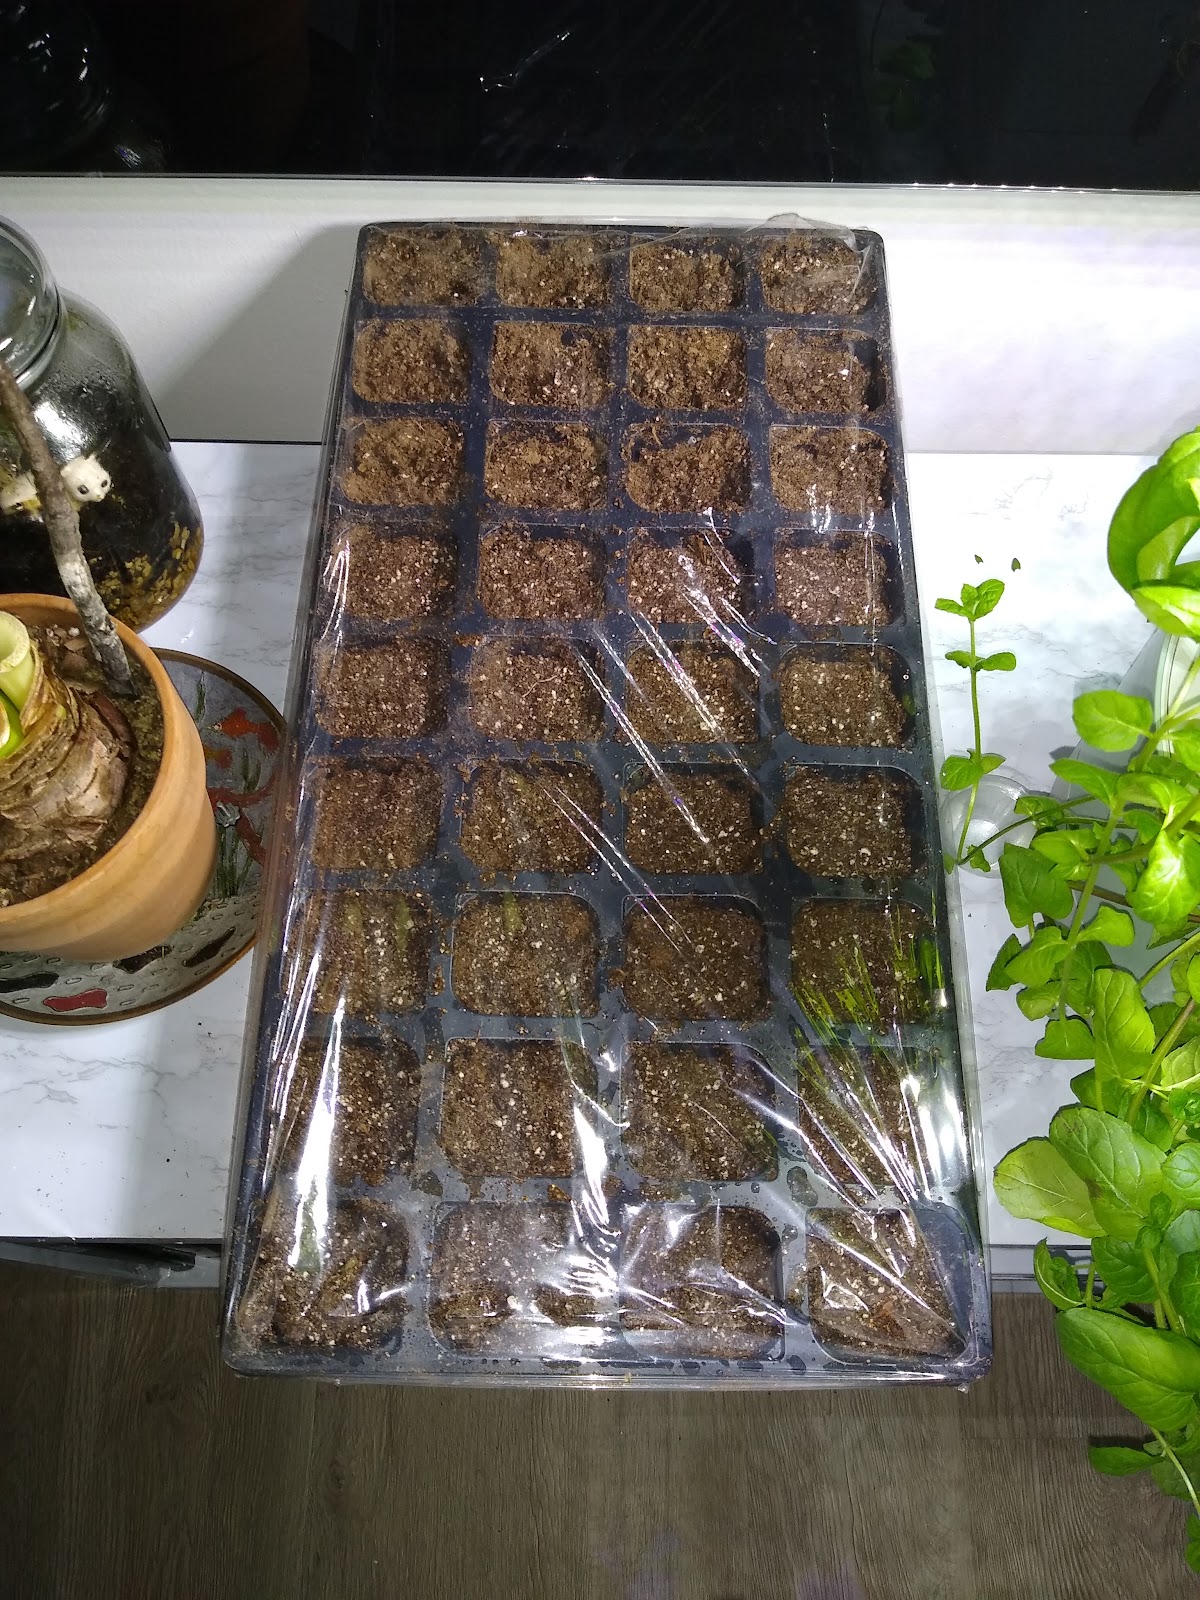
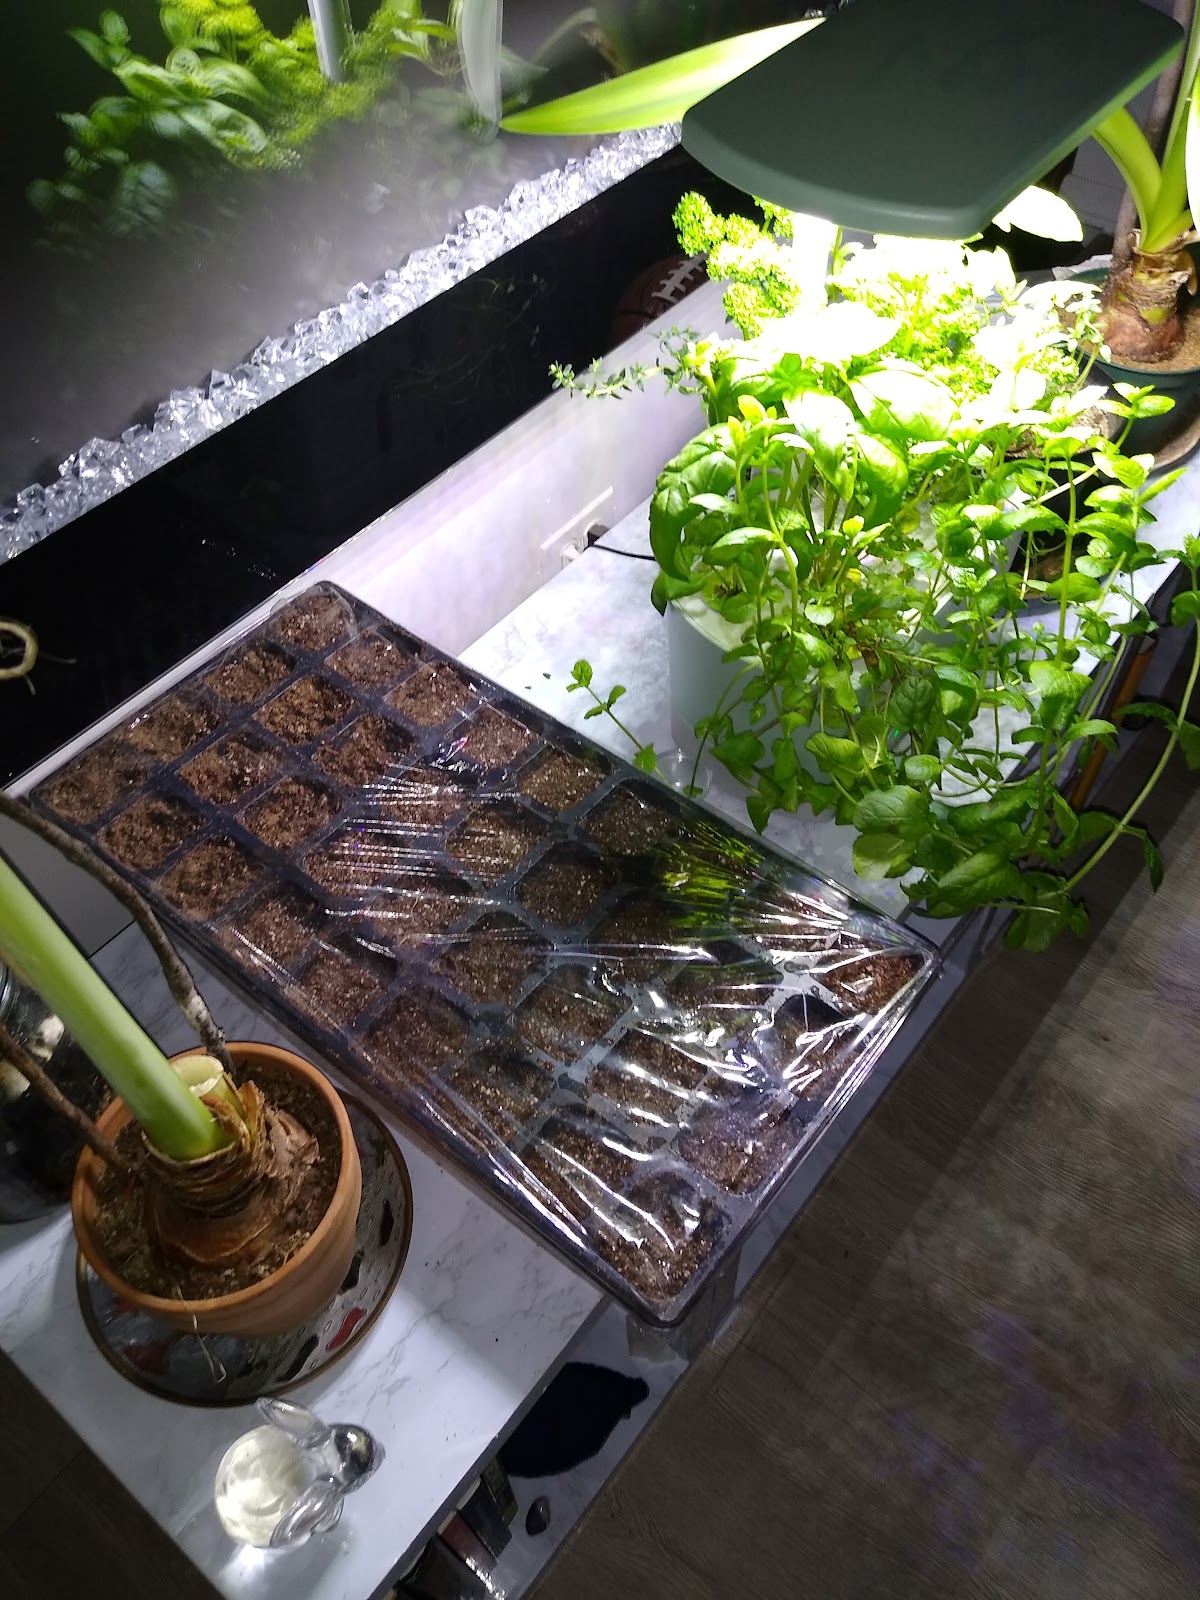
- Cover your seed starting tray with plastic wrap in order to keep the soil moist.
- Place near a grow light or near a sunny & south-facing window.
Tips
- You don’t need a seed starting kit to start seeds. All you need is seed starting mix & containers that drain. Many household containers are often used to start seeds like egg cartons & take-out containers.
- I reused the plastic packaging of my seed starting kit to cover the tray, but saran wrap works just as well.
- Check on your seeds daily to make sure that the soil is still moist, water when it starts to feel dry.
- Read more of my seed starting tips here.
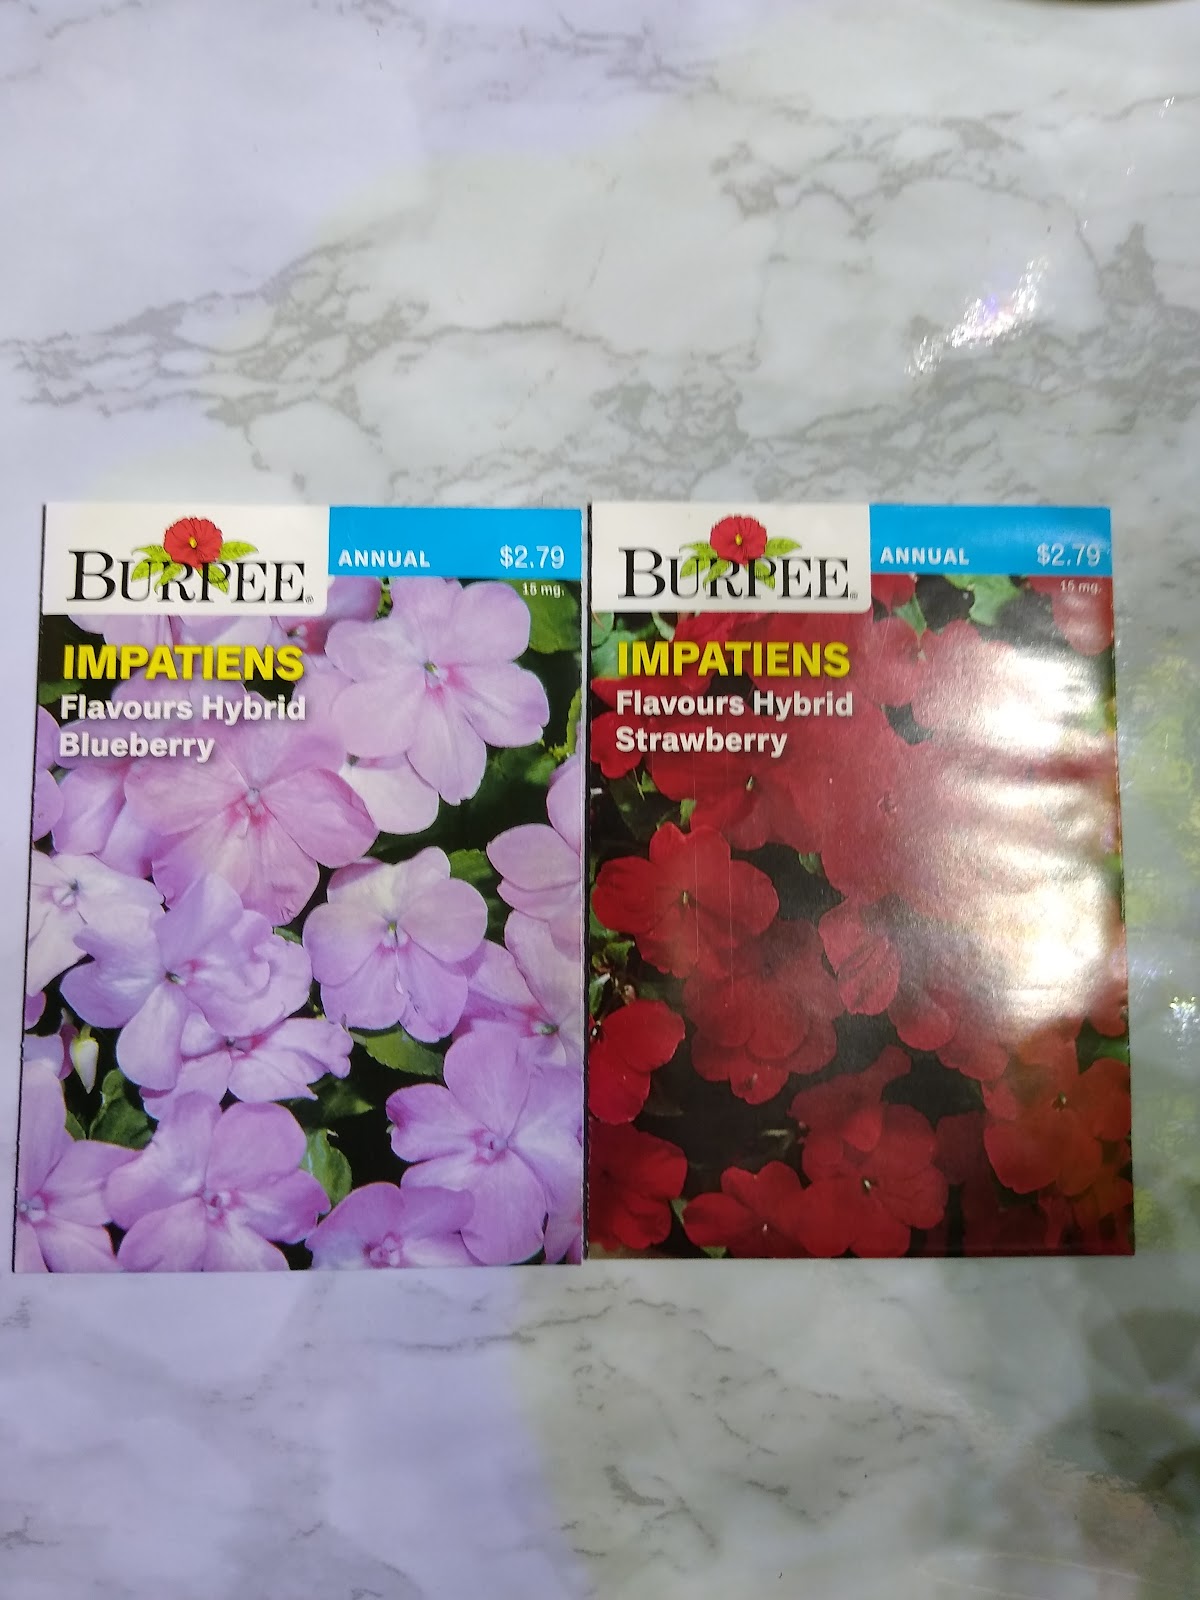
I have been waiting to start my seeds forever it seems. I’m located in Zone 5b, so our average last frost date is May 15th. Meanwhile, I had been full of envy watching seemingly all of Instagram start their seeds weeks ago. Last week was finally 10 weeks from May 15th, so I broke out the kit & started planting. I planted about 48 Impatiens seeds, 24 Strawberry Impatiens & 24 Blueberry Impatiens with two seeds per cell. Hopefully, they will all germinate because this girl plants a lot of impatiens here. I always plant up 2 hanging baskets & 2 pots near my front door & that area receives very little sunlight. So far, impatiens have been the only flower to really thrive in that spot. I also plan on starting gazania flowers & tomatoes indoors in 2 weeks.
I did a little seed shopping a few weeks ago & I’m looking to do a little more to fill out my garden with flowers & veggies that I usually buy anyway in May/June. Most of the seeds that I ended up buying are seeds that are best planted in-ground, which is probably a good thing since I don’t have a ton of room to start seeds indoors. I’m looking into winter sowing half of my tomato seeds so I can compare how well each growing method works. I’ve never tried winter sowing but it looks really interesting & most importantly, budget-friendly. Trying out new methods is one of the best things about gardening for me. I feel like gardening is just a constant learning experience full of experiments. Sometimes things work & sometimes they don’t but you are always guaranteed to learn something. With that said, you should definitely try starting seeds indoors. It’s a really easy & affordable way to garden. Go get your seed starting on!
