
*This article contains affiliate links. As an Amazon Associate I earn from qualifying purchases. As always, all opinions are my own. I have not been paid for this review, nor am I working with AeroGarden in any capacity. I received this product as a Christmas gift from a family member.*
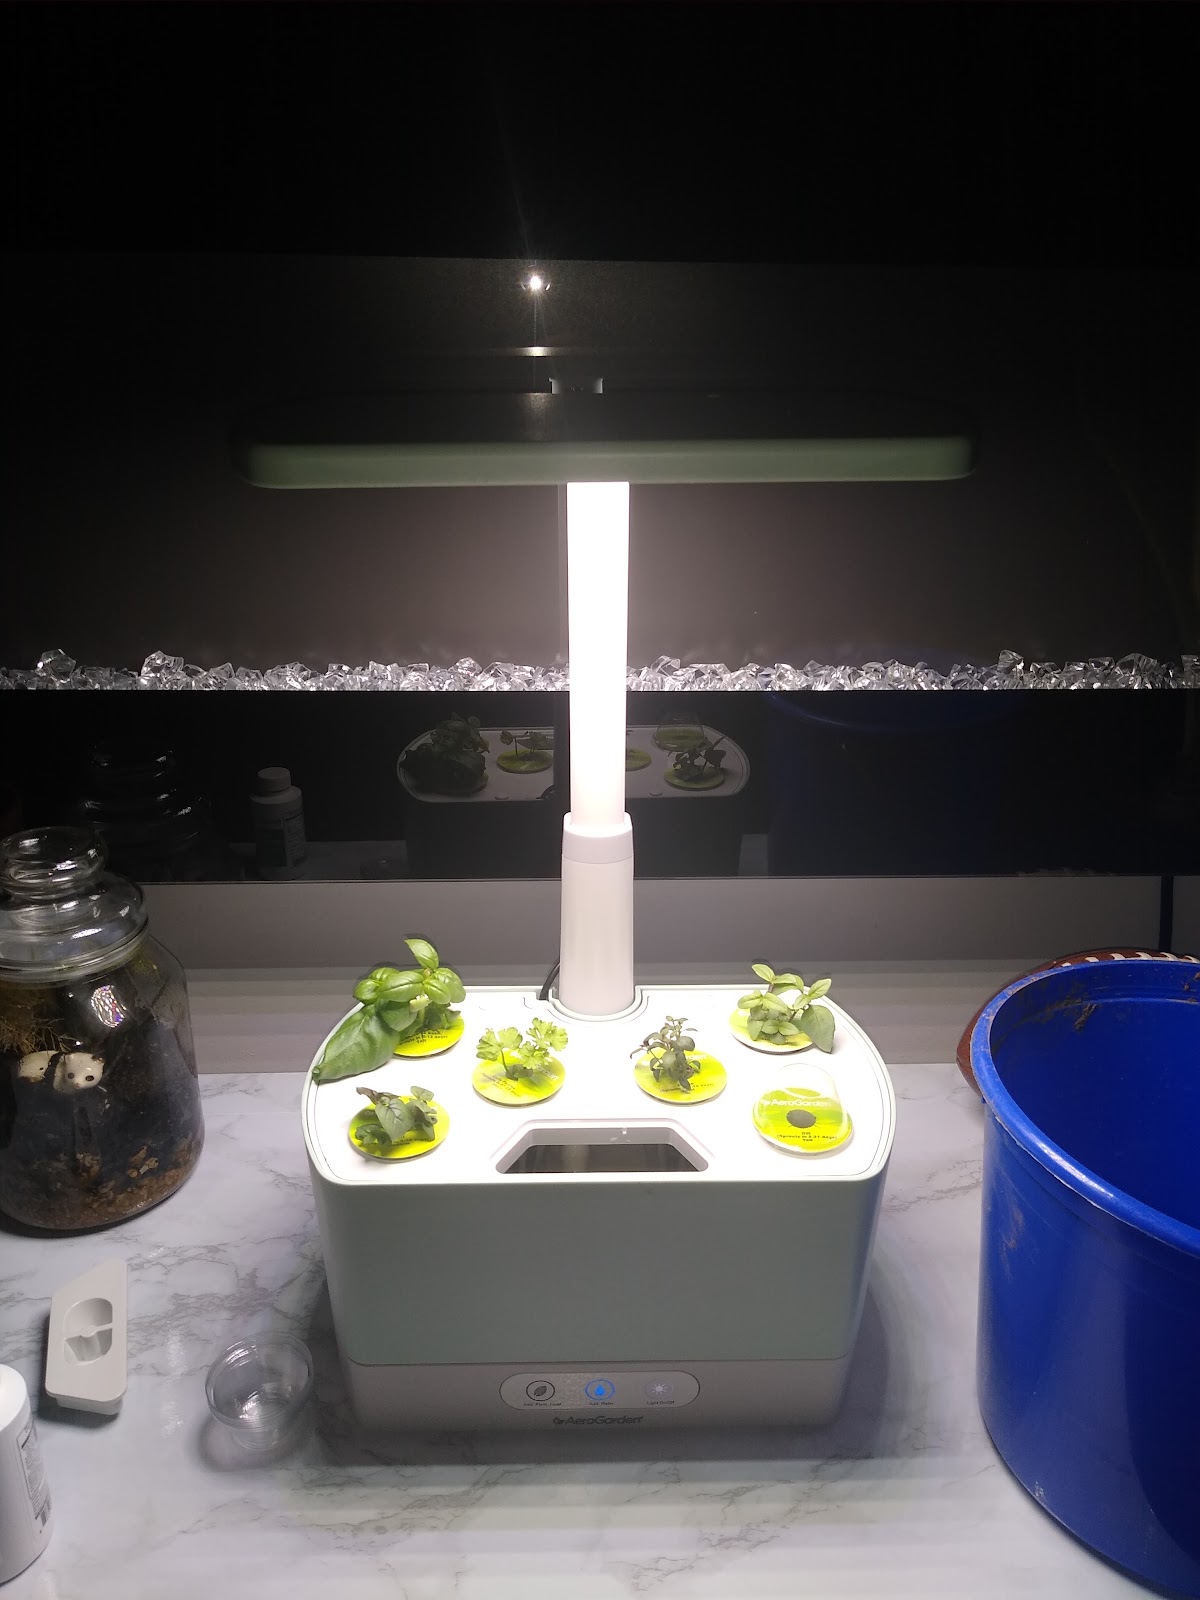
Well, it’s been about a month since I set up my AeroGarden & I am just as pleased with it as I was when I set it up. The herbs that I planted have really taken off, except one (more on that later), & I have already started to harvest a few of them. I thought I would write up a follow-up review because I always find it helpful reading follow-ups when looking up reviews for products that I’m interested in buying. A lot of people will write up an initial review, but most people don’t come back to write about how/if the product is working for them a few weeks later. With that in mind, here is my 1-month update review of the AeroGarden Harvest.
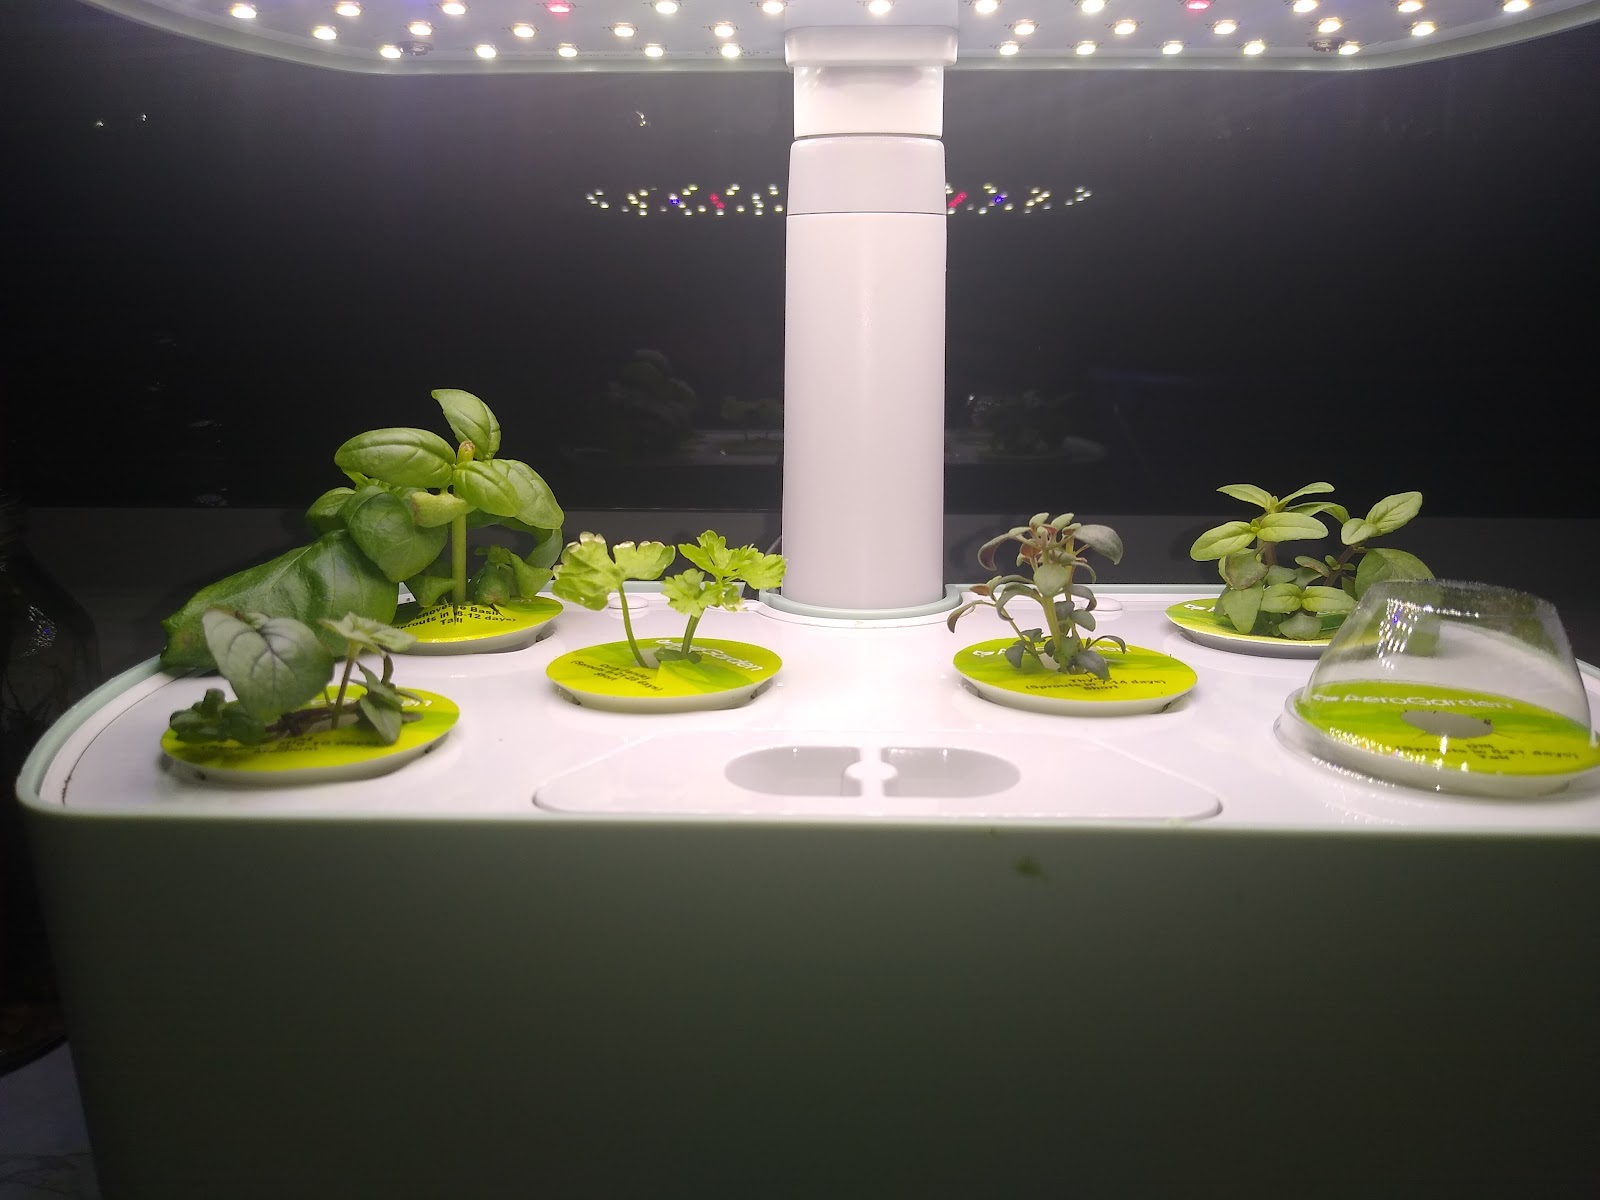
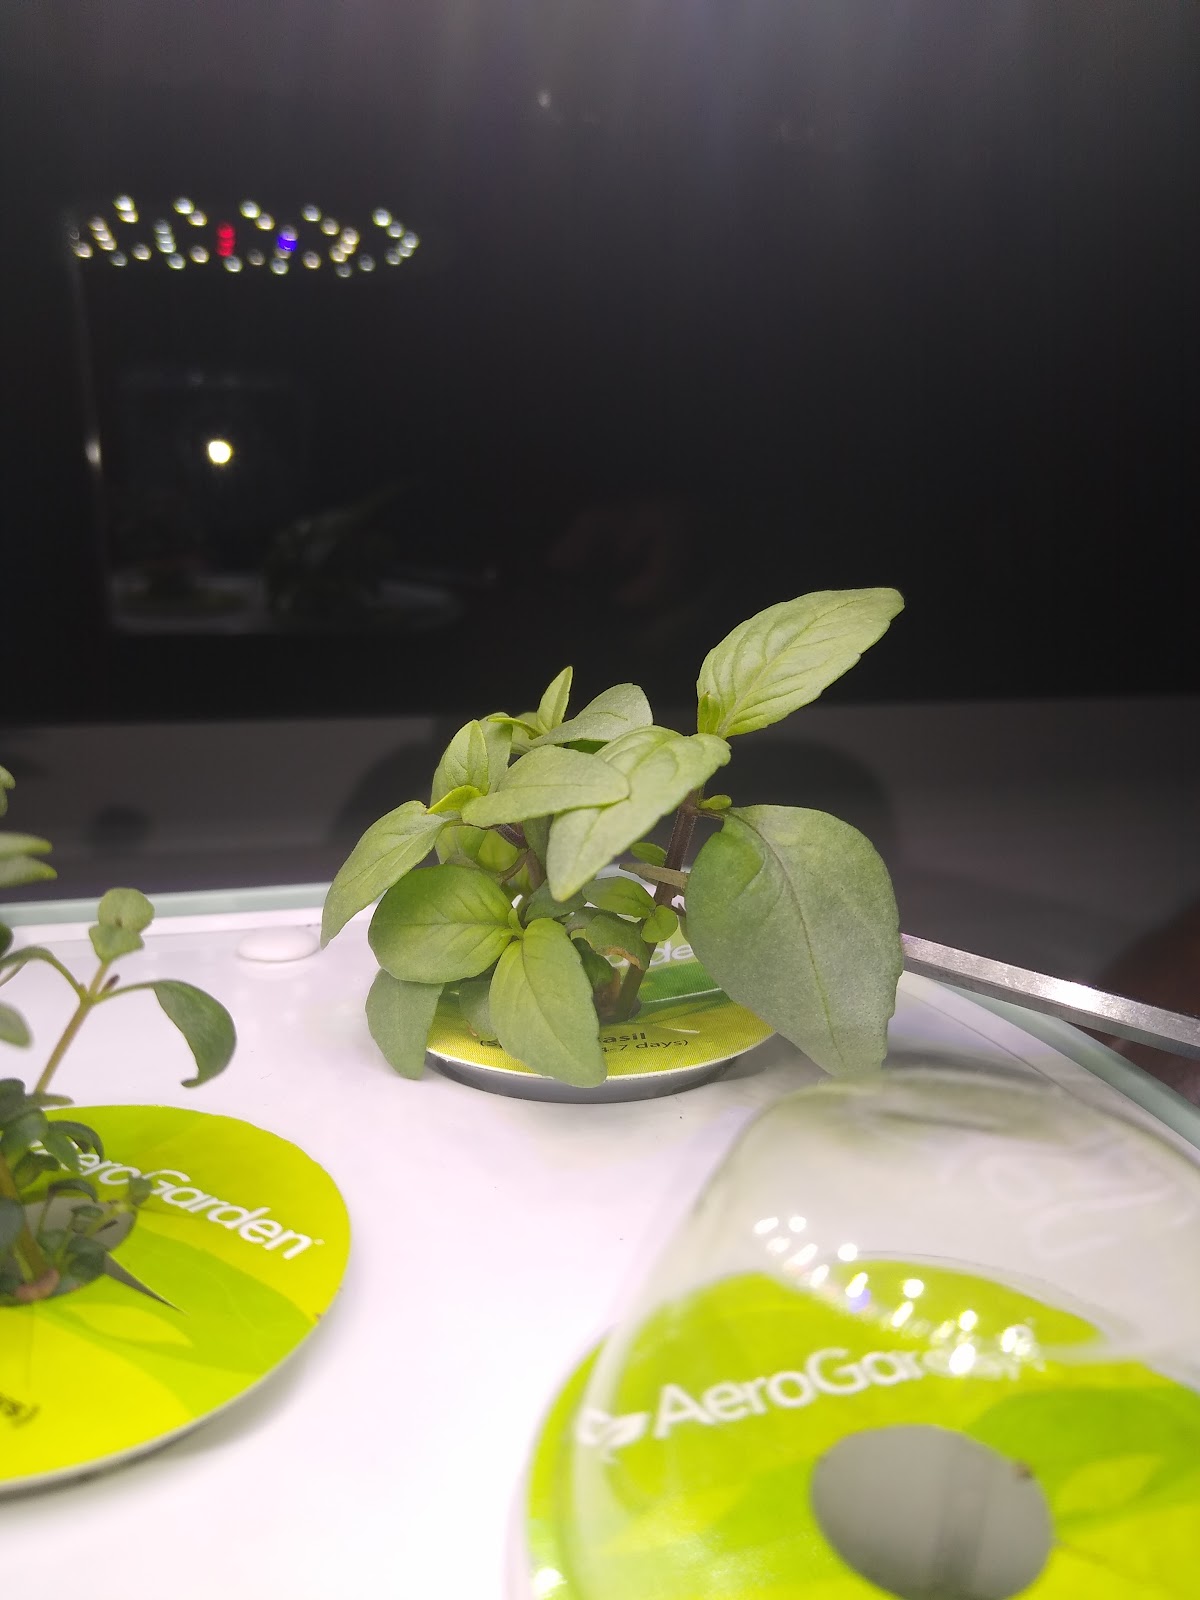
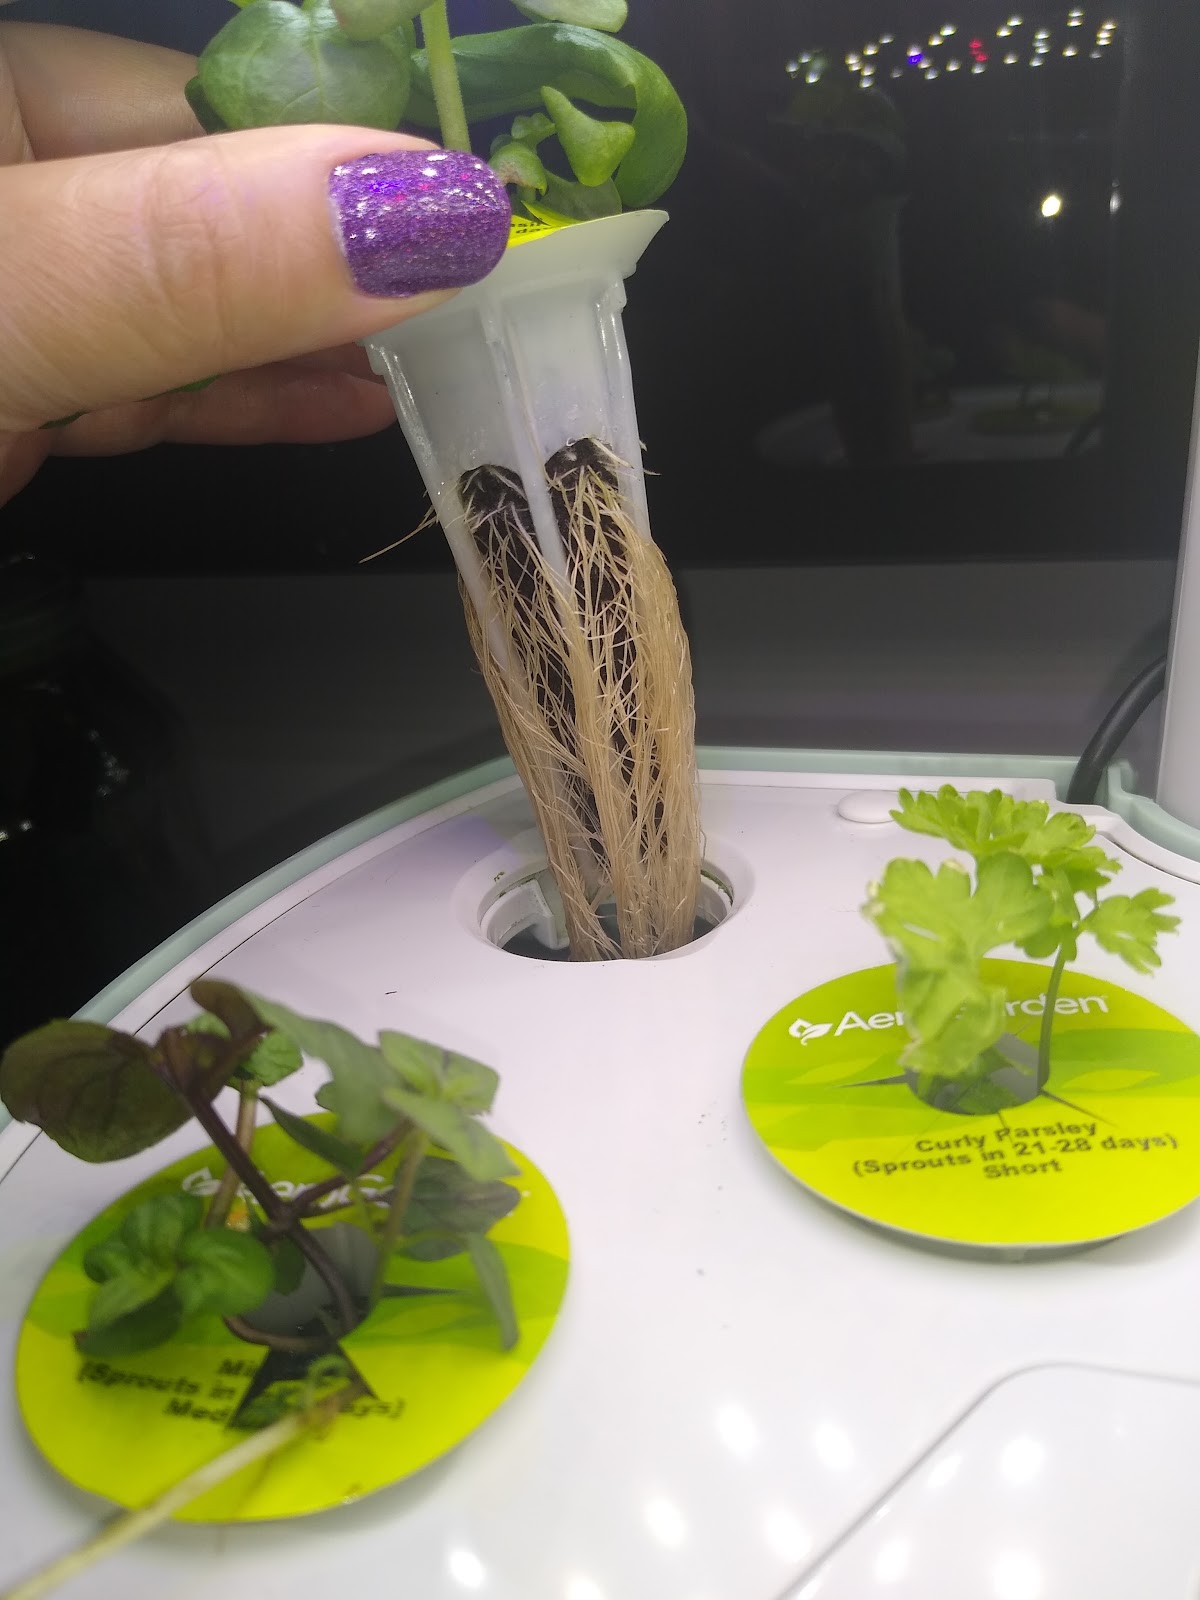
First off let’s talk about the most important part, the plants! My AeroGarden came with a six-pack of herb seed pods, which includes Genovese Basil, Thai Basil, Mint, Parsley, Thyme & Dill. All of my herbs have since sprouted except Dill, which was supposed to sprout 8-21 days after planting. AeroGarden has a Seed Germination guarantee, so I plan to contact them for a replacement Dill. Other than that, I have been super pleased with my herbs. The other 5 are really growing like crazy. I first harvested Genovese Basil two weeks after I planted the seeds! Yes, just 2 weeks! I harvested Thai Basil, Mint, Thyme & Genovese Basil again after 3 weeks. It’s important to start harvesting your herbs early, in order to encourage the plants to grow more. Just make sure that you are not cutting off more than ⅓ of a plant at a time. When trimming herbs, always cut right above a new set of leaves. This ensures that the plant will double in production. Thus, the more you harvest, the more your plant will grow, just remember to keep it under ⅓ of the plant.
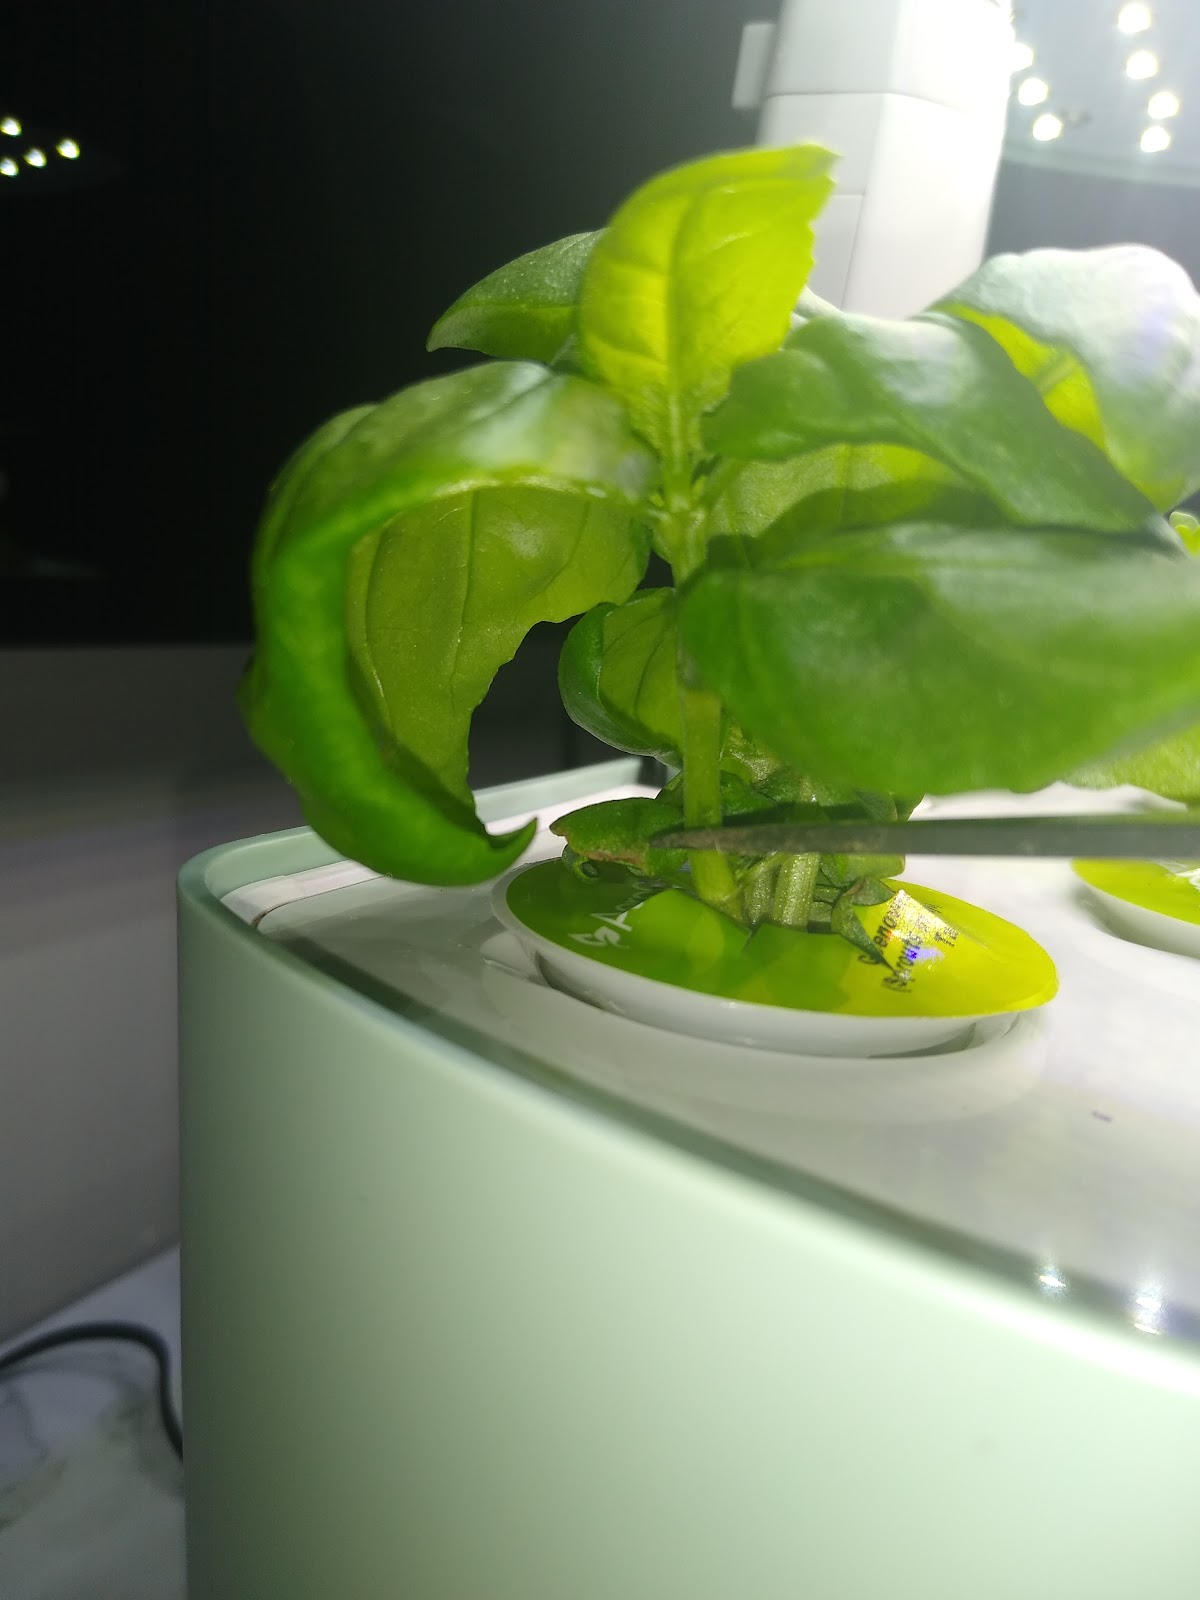
I have yet to yield enough Basil to make my beloved pesto, but I was able to harvest enough to throw on a homemade pizza. Let me tell you, I have missed eating homegrown herbs so much! Hell’s bells, I miss just the smell of homegrown herbs! Once my herbs started sprouted I would gently rustle up the leaves just so I could smell them, that’s how much I missed it. We also enjoyed sauteed veggies made with our Basil & Thyme, plus I made tea with the Mint. They have all been delicious & I am beyond pleased with them.
Maintenance wise, the AeroGarden has been really easy to keep up. I barely water it. I check the water levels every day, but so far I’ve only been topping off the water about once a week. Even though the AeroGarden will notify you when the water is getting low, it’s best to make sure that the water is always full. It definitely takes a lot less water than when you grow plants in soil & it’s a lot easier to tell when you do need to water them. I fertilize it on schedule, every two weeks with the fertilizer that was included with my system. I am notified via a fertilizer notification light every 2 weeks. All I have to do is to pour 2 capfuls of fertilizer into the water reservoir & top it off with a little water. Easy peasy.
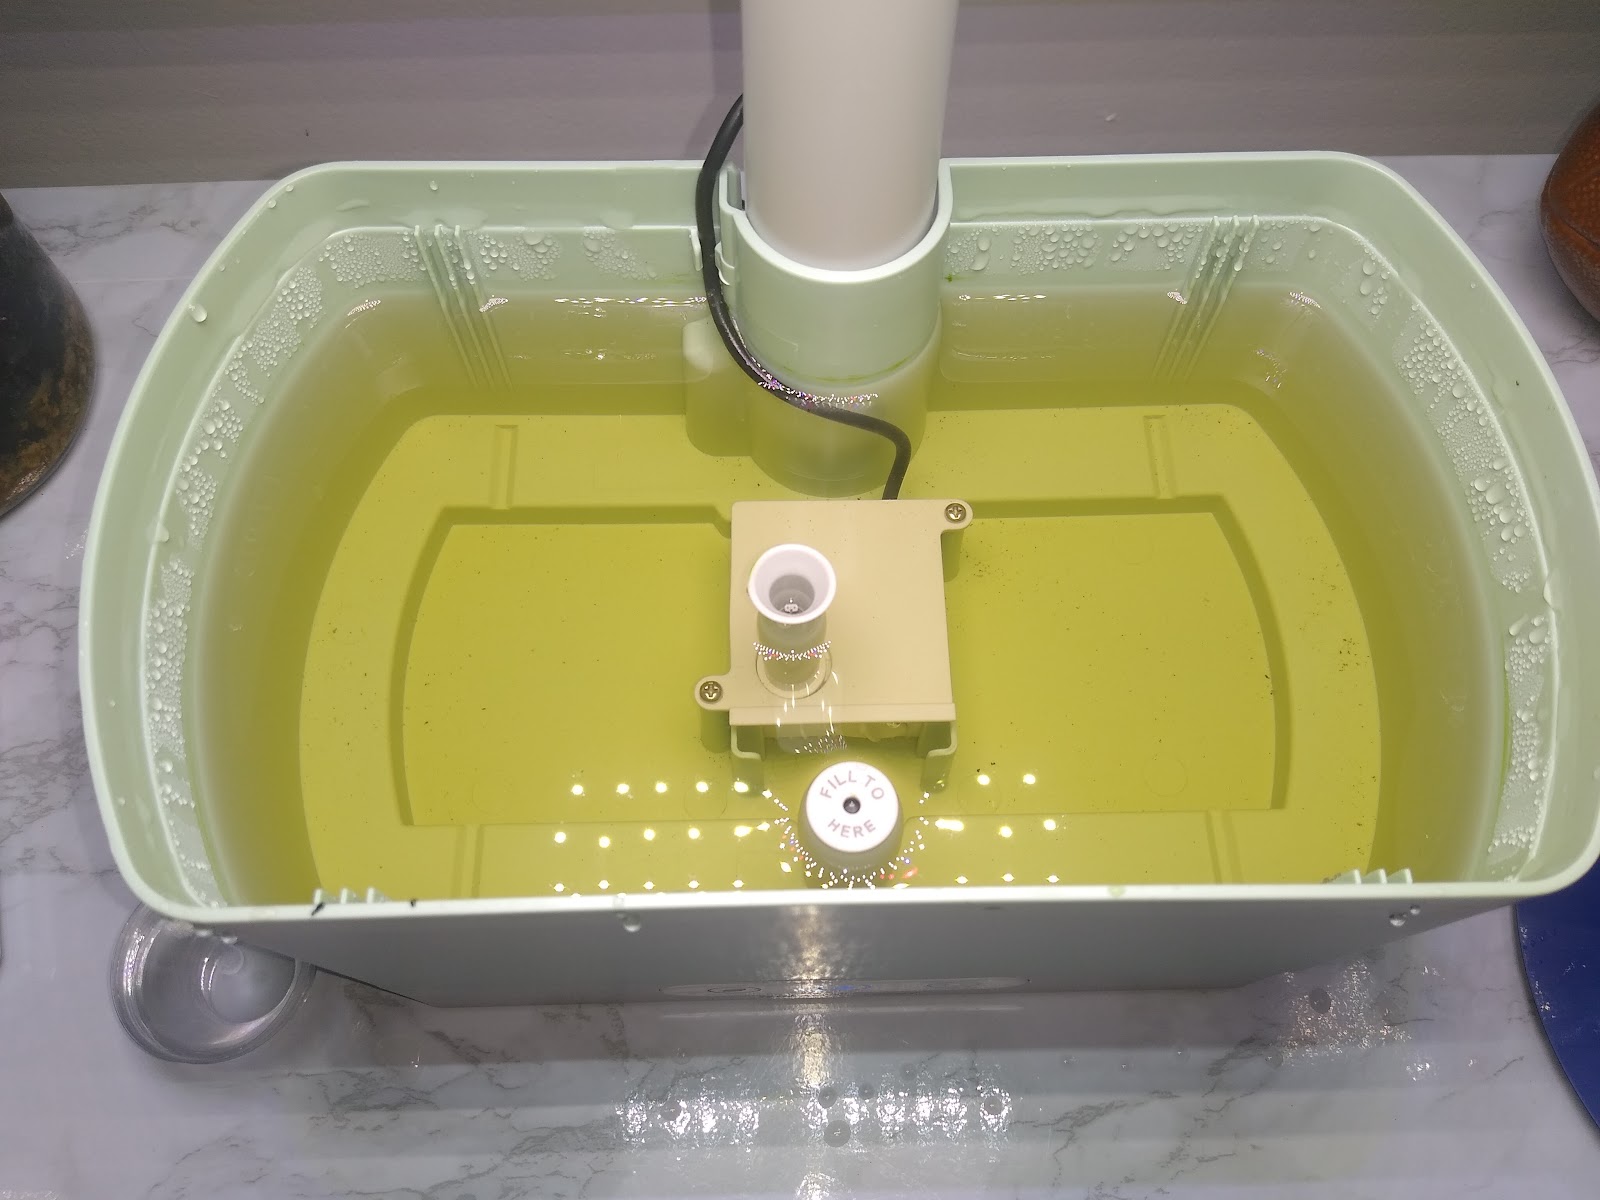
It is recommended to change out the water once a month, prior to fertilizing in order to keep the system running smoothly. That was also an easy process, albeit a little messy (make sure you have paper towels). I’ll walk you through a short tutorial because I was a little confused on how to empty out the water myself.
Materials
- AeroGarden Harvest
- Medium Sized Bucket
- Paper Towels
- Fertilizer
Method
- Set the lights to the highest position.
- Remove the top of the system where the seed pods sit. Place on top of a bucket.
- Unplug & remove the water reservoir & dump the water into a sink. Rinse the inside with cool water.
- Inspect your system & make sure to clean off any sediment/stains.
- Return the water reservoir to the base & set the top with the seed pods back on the reservoir.
- Fill with the reservoir to nearly the waterline. Add in fertilizer & top off with more water.

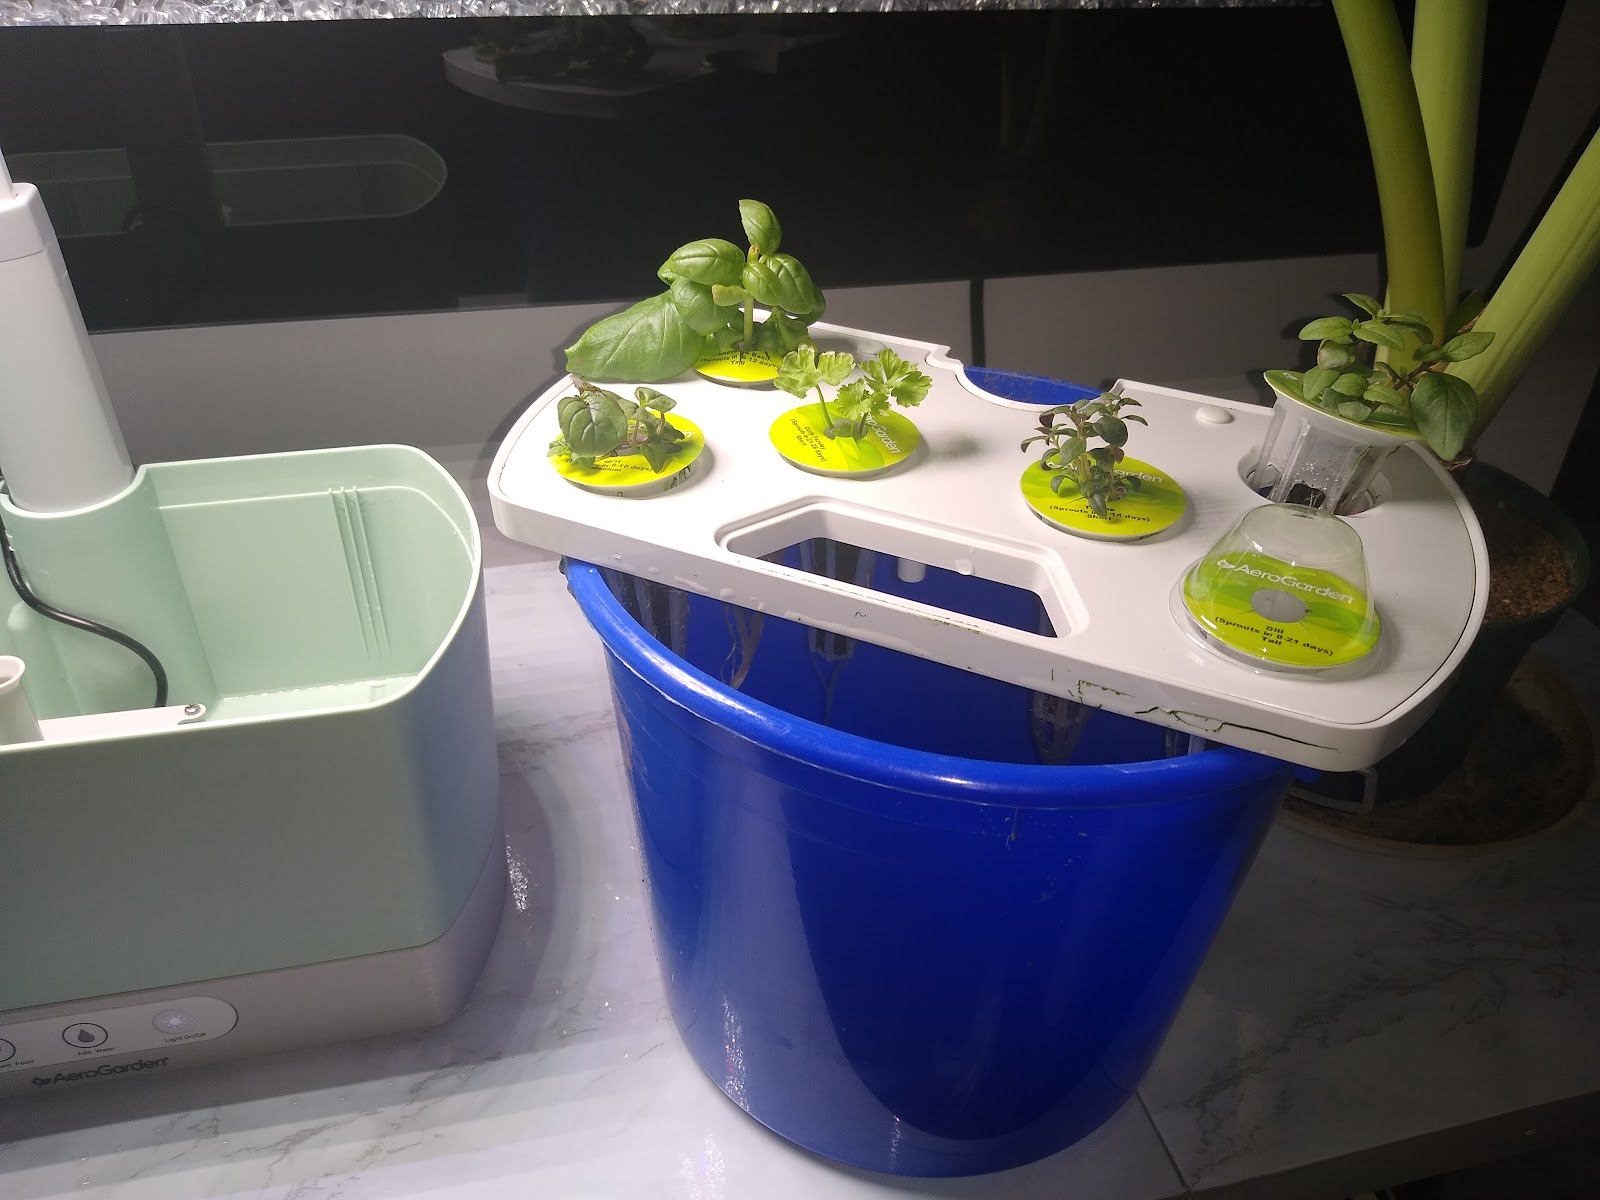
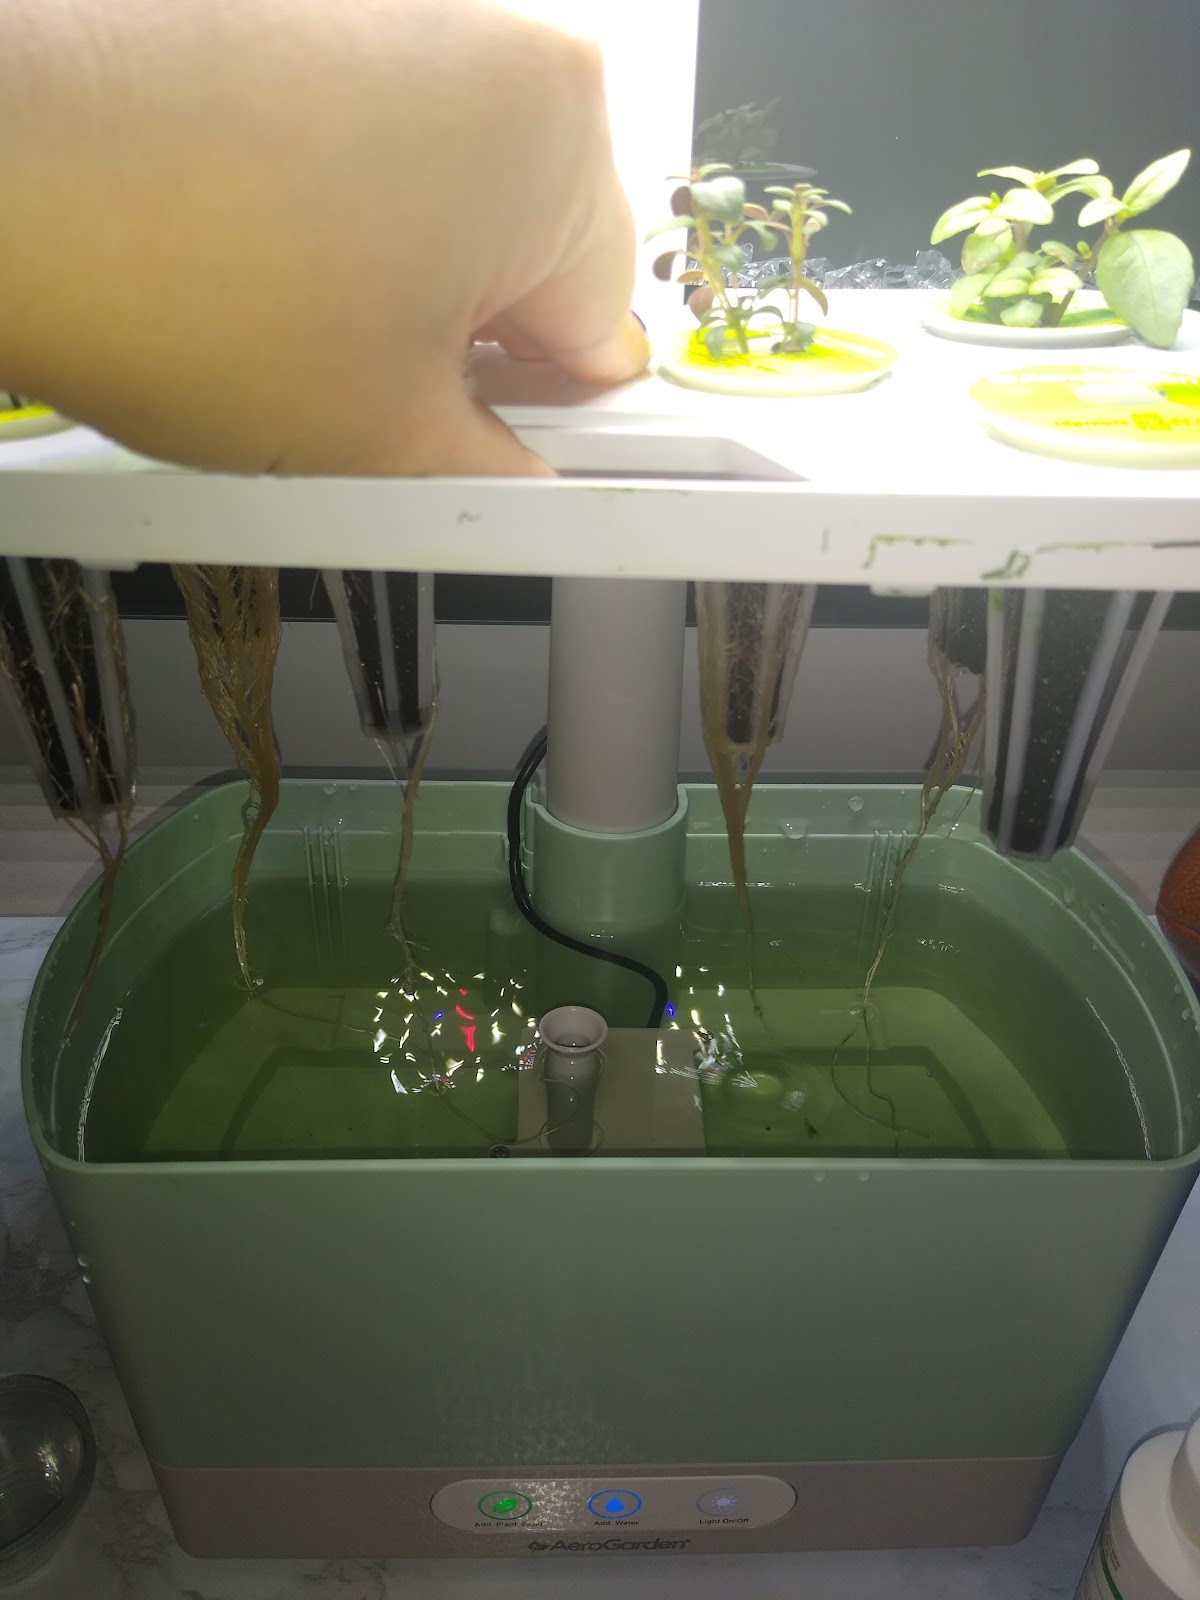
Make sure to work quickly. The water pump goes on for 5 minutes every 25 minutes, so it’s best practice to start the cleaning process right after the pump goes off. You want to have everything finished before the pump starts again. I made a bit of a mess trying to transfer the top to the bucket & then I made a bit more of a mess with the fertilizer, so I recommend having paper towels on hand if you might make a clumsy go of it as I did. It’s a really simple process though & it was really neat to see all of the root growth that my herbs have put on. One of the best things about hydroponics is being able to see all of the roots. I really can’t believe that my plants have put on the growth that they have in such a short amount of time.
As you can see, I am still raving about my AeroGarden Harvest. I am so happy with it & it really is one of these easiest gardening adventures that I’ve ever been on. I highly recommend this to anyone who is interested in gardening, but especially for people who are new to gardening. I think it makes for a great introduction to the garden world since it’s virtually foolproof. I really can’t see how anyone could get this wrong, so black thumbs begone if you buy it. I will continue to bring all of you on my AeroGarden journey & write more follow-up reviews because it’s helpful to prospective buyers & because I’m having so much fun with it. Also, I plan on creating a few recipes that will showcase the herbs I’m growing. Stay tuned!
Follow me on Instagram for more frequent AeroGarden updates. I devoted a highlight section to my AeroGarden journey, which mostly consists of boomerangs, because who doesn’t love boomerangs?

4 responses to “AeroGarden Harvest Review: 1 Month Update (Maintenance & Harvesting)”
Thanks for the follow-up review and comments/pics on the monthly cleaning. I’m 3 weeks into the first planting and the quick settup instructions in the kit left a bit to be desired on how best to do it while keeping roots intact.. Oh, our box said it was herbs like yours but it actually contained 4 types lettuce, 1 tomato and 1 mini pepper. Since we have an abundance of dried herbs from last years garden,the lettuce is fine and growing rapidly – over 8″ tall already. (I have the garden in a south-easterly window with the lights coming on at noon.) It actually is beginning to look like some or the advertising pictures. Thanks again.
LikeLiked by 1 person
You’re welcome, AeroGardens are so much fun! What a surprise that must have been when you realized that you have veggies instead of herbs. I’m currently growing tomatoes in mine, but I would love to try lettuce & peppers next year!
LikeLike
Thank you so much for posting this information. AeroGarden needs to hire you for documentation!
LikeLiked by 1 person
You’re welcome, I’m glad that you found it so helpful!
LikeLike